The DIY Mask That Leaves My Skin Looking Fresh
Crafting a DIY mask that leaves your skin looking fresh starts with key ingredients like honey, avocado, and yoghurt. These natural elements hydrate, soothe irritation, and gently exfoliate for an even complexion. Simply mix them for a creamy consistency, apply it generously, and let it work its magic. You’ll notice a refreshed glow in as little as 15 minutes! For more tips on personalizing your mask and achieving amazing transformations, keep exploring the world of DIY skincare.
Key Ingredients for the Perfect DIY Mask
Have you ever wondered what truly makes a DIY mask effective? The key lies in powerful ingredients!
Honey acts as a humectant, locking in moisture while its antibacterial properties tackle pesky pimples. Yoghurt, honey and turmeric addresses uneven skin tone and texture through gentle exfoliation, making it a fantastic addition to any facial routine.
Avocado nourishes with fatty acids and vitamin E, while yogurt’s lactic acid gently exfoliates and reduces inflammation.
If you’re after pimple remedies overnight, consider oatmeal for soothing irritation, or lemon juice to brighten dark spots.
Incorporating turmeric fuses skin-soothing qualities with brightening benefits, creating a flawless complexion.
With the right blend, you’ll unlock radiant skin that’s ready for anything.
Benefits of Using a DIY Mask for Skin
Using a DIY mask gives you the power to improve your skin’s texture and target specific concerns effectively. You can customize ingredients to suit your unique skin needs, ensuring every application feels like a spa experience. With natural elements, you’re not just treating your skin; you’re enhancing its overall health and radiance. Moreover, these masks can help address common issues such as acne by utilizing beneficial ingredients that reduce inflammation and cleanse your pores. This makes them a great choice for oily skin types, as they can absorb excess oil without causing dryness.
Improved Skin Texture
Using a DIY mask packed with avocado, honey, and brown sugar can deeply nourish your skin, enhancing its texture. Brown sugar acts as a natural exfoliant, removing dead skin cells, while honey and avocado provide moisture and hydration. Additionally, avocados are rich in omega-3 fatty acids, which help moisturize and reveal a brighter face. Turmeric reduces inflammation, leading to a smooth and even complexion. For those with oily skin, oatmeal helps balance oil production.
Customized Skincare Solutions
Crafting your own masks at home not only enhances your skin’s texture but also provides the opportunity to tailor your skincare to your unique needs. You can address specific concerns like acne, wrinkles, or hyperpigmentation, ensuring precision treatment that yields effective results. As your skin evolves, your DIY mask can be adjusted, minimizing irritation and maximizing benefits. This personalized approach reduces trial and error, allowing you to track progress and adapt strategies. Plus, you’ll save time and money by using only what’s necessary, leading to longer-lasting and more satisfactory outcomes. Your skin deserves this targeted care! By ensuring your routine avoids one-size-fits-all routines, you can better cater to your skin’s specific needs.
Step-by-Step Guide to Making Your Mask
To create your own refreshing face mask, start by gathering the right ingredients that suit your skin’s needs. For instance, if you are dealing with ACNE, using egg whites in your mask can help kill bacteria on the skin and stop blemishes. Additionally, consider incorporating baking soda’s antibacterial properties for a more comprehensive approach to clearing your skin. Next, you’ll mix them together to form a smooth consistency that delivers maximum benefits. Finally, apply the mask with care, ensuring even coverage for an effective skin treatment.
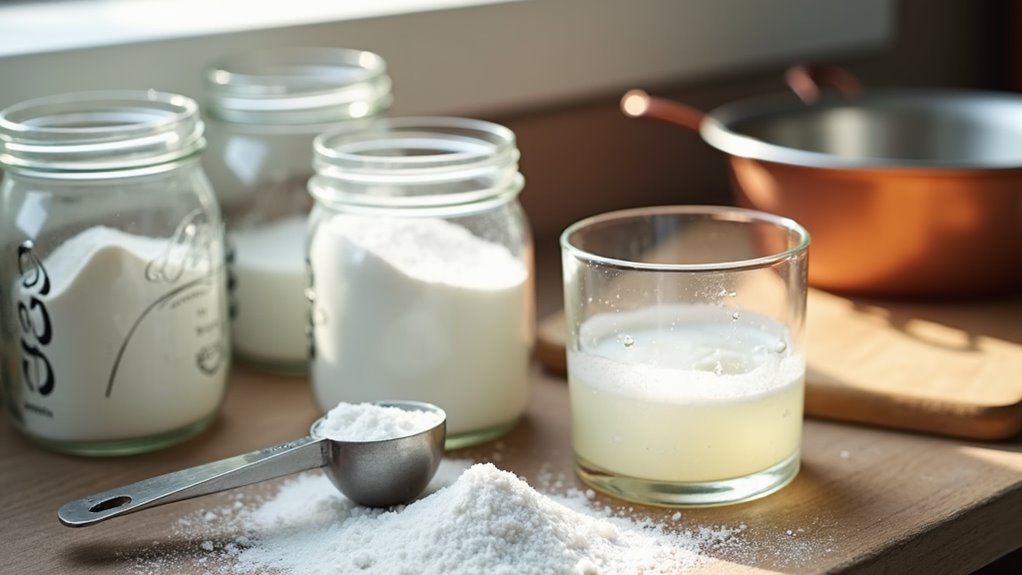
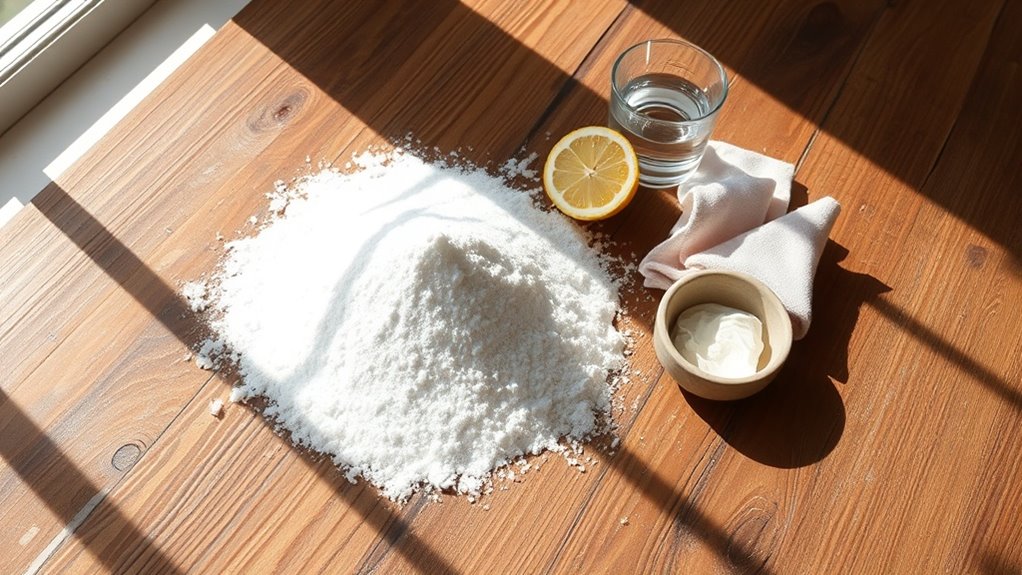
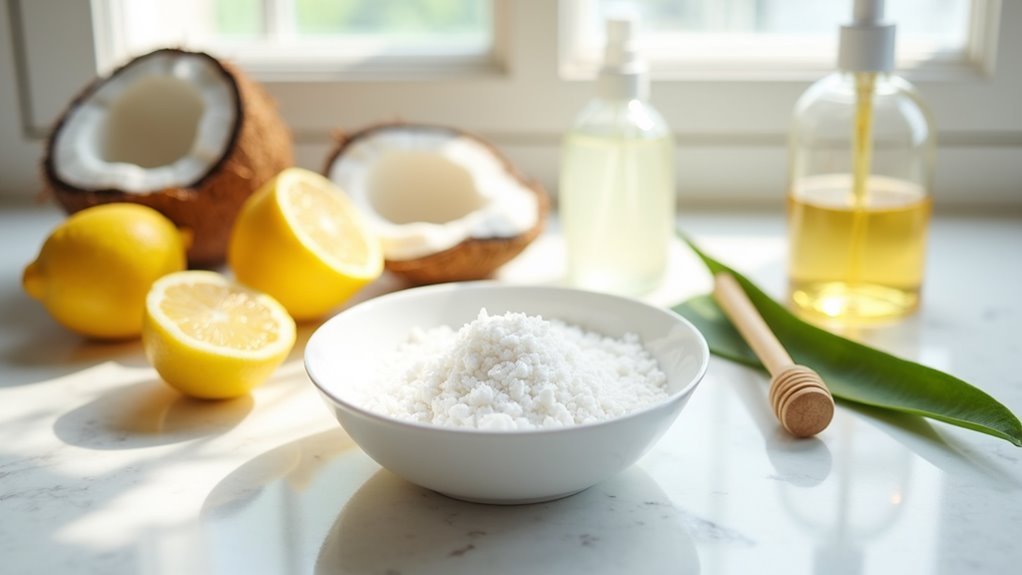
Gather Your Ingredients
Gather your ingredients with intention, as each component plays a crucial role in crafting a customized mask tailored to your skin’s needs.
For a nourishing blend, grab honey for hydration, yogurt to gently exfoliate, and soothing aloe vera.
If you’re feeling adventurous, add oatmeal to calm redness or a pinch of turmeric for its brightening effects.
Optional ingredients like avocado or lemon juice can enhance your mask’s effectiveness, depending on your skin type.
Measure out your ingredients precisely, ensuring you use clean utensils for a safe, effective treatment.
With everything at hand, you’ll be ready to create your perfect mask!
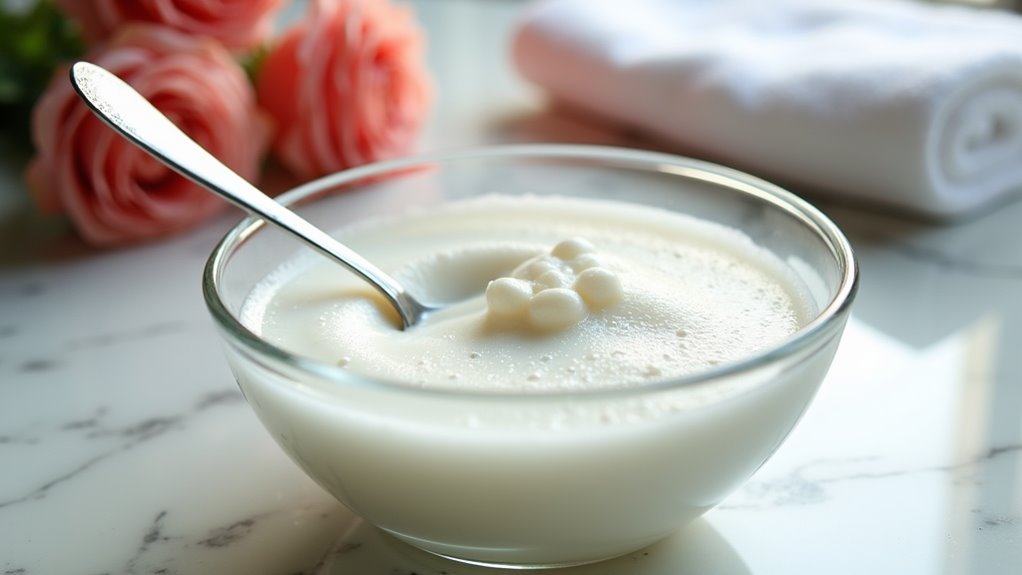
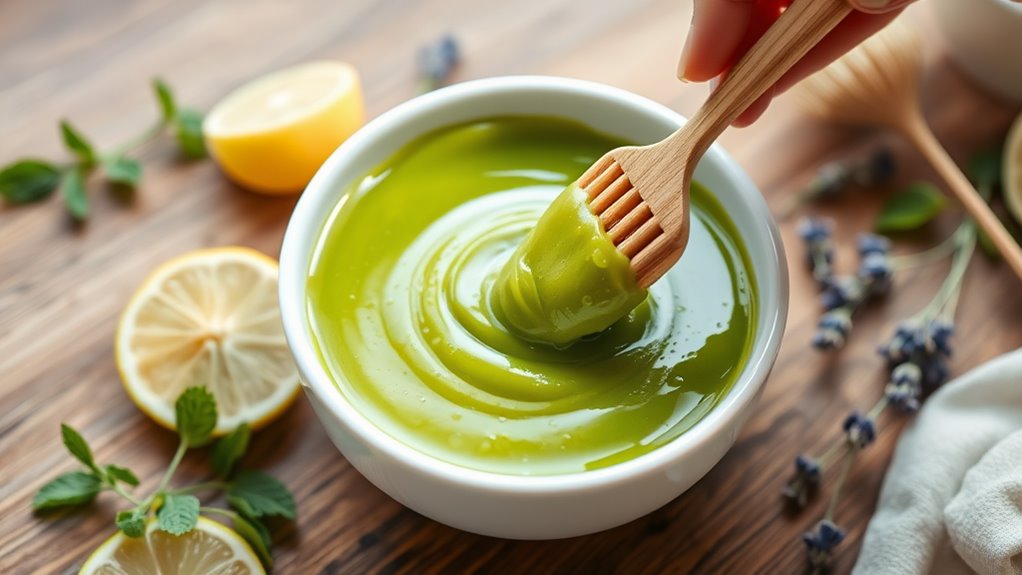
Mixing Instructions
Now that you’ve assembled your ingredients, it’s time to mix them into a mask that caters to your skin’s unique needs. Follow these simple steps for a perfect blend:
-
Combine 1 tsp nutmeg and 1 tsp cocoa powder for an antioxidant boost.
-
Mix in 2 tbsp honey until you achieve a smooth, pliable consistency.
-
If you prefer a creamy texture, add water or milk gradually until satisfied.
Using non-metal tools, ensure the mixture’s consistency mimics creamy mud for easy application.
Remember, adjust with extra honey or milk if it thickens too much.
Enjoy your freshly mixed mask!
Application Tips
Are you ready to transform your skincare routine?
Start by cleansing your face with a gentle cleanser, then exfoliate to remove dead skin cells.
Follow up with a toner to prep your skin.
Choose a mask that suits your needs—clay, gel, or sheet.
Always read the instructions!
Apply a quarter-sized amount, spreading it evenly from your upper neck, avoiding sensitive areas around your eyes and lips.
Consider including your neck for a full treatment.
Leave it on for 10 to 20 minutes and use the time to relax before rinsing it off and revealing fresh, glowing skin!
How to Apply the Mask Effectively
Before you dive into applying your DIY mask, ensure your skin is ready to absorb all its nourishing benefits.
Start by following these steps:
- Cleansing: Wash your face to remove dirt and oil, prepping your skin for absorption.
- Gentle application: Use clean fingers or a brush to spread the mask evenly, avoiding the sensitive areas around your eyes and lips.
- Neck coverage: Don’t forget your neck! It deserves the same pampering as your face.
Allow the mask to dry for 10 to 20 minutes, and enjoy the refreshing sensation as it works its magic. Additionally, be mindful of the skin’s natural pH balance to avoid potential irritation.
Tips for Storing Your DIY Mask
Once you’ve enjoyed your DIY mask and experienced its revitalizing effects, proper storage is key to keeping your creations fresh and ready for use. Consider these creative solutions to ensure your masks stay organized and appealing:
| Storage Method | Description | Visual Appeal |
|---|---|---|
| Fabric Pouches | Keep masks clean and separate | Fun patterns and colors |
| Command Hooks | Conveniently hang masks | Versatile and space-saving |
| Bamboo Baskets | Add a natural touch | Eco-friendly and stylish |
Additionally, remember to store your masks in an airtight container to maintain their potency and keep your skin safe. With these tips, you’ll always have a refreshing mask within reach, looking as fabulous as your skin!
Common Skin Concerns Addressed by the Mask
Many people face common skin concerns that DIY masks can effectively address.
With simple ingredients, you can target specific issues:
- Acne: Combat breakouts and prevent future flare-ups by using masks with soothing ingredients like honey and tea tree oil. Incorporating natural antibacterial properties of tea tree oil can significantly enhance your mask’s effectiveness against acne.
- Dryness: Alleviate flakiness and tightness with a hydrating mask featuring avocado oil or hyaluronic acid to boost moisture.
- Redness: Soothe inflammation and sensitive skin with calming agents such as aloe vera or colloidal oatmeal, providing much-needed relief.
Embracing DIY masks can help you tackle these concerns and reveal a healthier, more radiant complexion.
Personalizing Your Mask for Unique Skin Needs
Creating a DIY mask tailored to your unique skin needs means considering both the ingredients and the application method.
Start by selecting gentle ingredients like olive oil for dryness or turmeric for inflammation.
Adjust the texture by adding more liquid or creamy components for a smoother application.
Incorporate cooling agents like cucumber for a soothing effect.
For fabric masks, choose breathable materials like cotton to reduce irritation, ensuring a snug fit without constriction.
Personalize with gentle dyes and patterns that reflect your style.
This way, your mask won’t just cater to your skin, but also enhance your personal flair. Additionally, be cautious about using ingredients like baking soda, as it can disrupt the skin barrier and lead to sensitivity if not used properly.
Safety Precautions When Using DIY Masks
When it comes to using DIY masks, keeping safety in mind is crucial to protect your skin and health.
To ensure a safe experience, consider these key precautions:
- Select fabrics wisely: Avoid PFAS-treated and flame-retardant materials; choose high-quality cotton for breathability.
- Practice proper hygiene: Wash your hands before and after use, and avoid touching the mask’s exterior during wear.
- Replace and clean regularly: Change masks every 2-4 hours, wash in hot water, and store in sealed containers. Additionally, ensure that baking soda is properly diluted before applying to avoid irritation.
Following these steps can help you enjoy the benefits of your DIY mask without compromising your skin’s health.
Experiencing the Results: Before and After
After just a few applications, you’ll likely notice remarkable changes in your skin’s appearance and texture. Within 15–20 minutes, enjoy a smoother surface and reduced redness thanks to the anti-inflammatory ingredients. As you continue, expect consistent brightness and an even skin tone, particularly in troublesome areas. By day seven, your complexion could flaunt a luminous glow reminiscent of “glass skin,” with diminished acne scars and enhanced elasticity. Plus, you’ll experience longer-lasting hydration and refined texture. With minimal downtime, this DIY mask not only fits your skincare routine but offers a customizable touch for your unique skin needs. Additionally, proper hydration is crucial for maintaining skin elasticity and plumpness, helping to reduce fine lines.