Say Goodbye to Greasy Hair With This DIY Trick
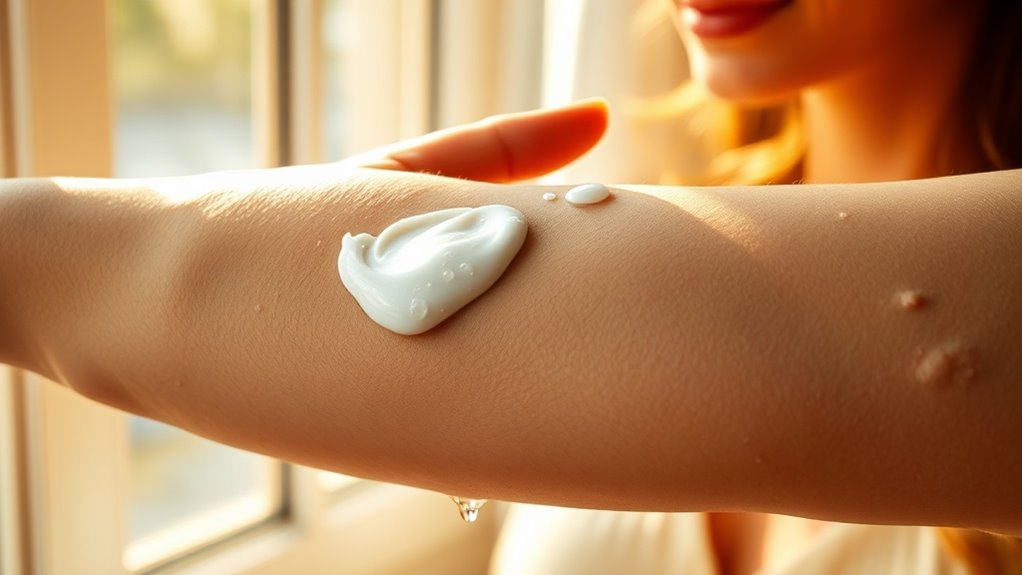
Combat greasy hair with a proven DIY solution that regulates your scalp’s sebum production naturally. Mix 2 tablespoons of cornstarch or bentonite clay with 1 tablespoon of apple cider vinegar and 5 drops of tea tree oil. Apply this mixture to your roots for 5 minutes before shampooing. This treatment balances your scalp’s pH while absorbing excess oils, with results visible after 2-3 applications. Discover how this ancient remedy can transform your hair care routine permanently.
Understanding the Root Causes of Greasy Hair
While genetics play a role in sebum production, several controllable factors contribute to greasy hair. Your scalp’s oil glands can become overactive due to hormonal changes, stress, or certain medications.
Frequent touching of your hair and excessive heat styling can transfer oils from your hands and stimulate sebum production.
Your hair care routine might also be sabotaging your efforts at greasy hair remedies. Over-washing strips natural oils, causing your scalp to compensate by producing more sebum.
Similarly, using heavy conditioners, especially near the roots, can weigh down your hair and make it appear greasier faster.
The Science Behind Oily Scalp Production
Your scalp’s sebaceous glands produce an oily substance called sebum, which is heavily influenced by hormonal fluctuations and genetic factors.
The pH balance of your scalp, typically ranging between 4.5 and 5.5, plays a crucial role in regulating sebum production and maintaining optimal scalp health.
When your sebaceous glands become overactive, often due to hormonal changes or external triggers, they can produce excess oil that leads to greasy-looking hair within hours of washing.
Sebum Production and Hormones
Although genetics play a role in sebum production, hormonal fluctuations primarily regulate the amount of oil your scalp produces. Your androgens, particularly testosterone and dihydrotestosterone (DHT), stimulate your sebaceous glands to produce more sebum.
That’s why you’ll notice increased oiliness during puberty, menstruation, pregnancy, and times of stress.
When your body experiences hormonal changes, it can trigger your sebaceous glands to work overtime. You’ll find this especially true if you’re taking medications that affect hormone levels, such as birth control pills or testosterone supplements, which can significantly impact your scalp’s oil production.
Scalp Ph Balance
A healthy scalp typically maintains a pH level between 4.5 and 5.5, creating an acidic environment that helps prevent bacterial growth and regulates oil production.
When your scalp’s pH balance becomes disrupted, often due to harsh shampoos or styling products, it can trigger your sebaceous glands to produce excess oil as a compensatory mechanism.
You’ll notice this imbalance manifests as greasy roots and an itchy scalp.
Maintaining proper pH balance is crucial – if your scalp becomes too alkaline, the protective acid mantle breaks down, leading to increased sebum production and potential scalp issues.
Using pH-balanced hair care products helps restore and maintain your scalp’s natural equilibrium.
Overactive Oil Glands
When sebaceous glands in your scalp become hyperactive, they produce excess sebum – an oily substance meant to naturally moisturize and protect hair follicles.
This overproduction often results from hormonal fluctuations, genetic predisposition, or environmental triggers.
Your overactive oil glands can manifest through these observable signs:
- Hair that appears wet or stringy within hours of washing
- Shiny, slick patches along the scalp’s surface
- Visible oil accumulation at the hair roots
- Flattened, lifeless strands lacking volume
Understanding your sebaceous gland activity helps identify effective treatment approaches, whether through specialized shampoos, dietary modifications, or hormone-balancing interventions.
Common Mistakes That Make Hair Greasier
Many people inadvertently worsen their greasy hair through daily habits that stimulate excess sebum production.
You’ll make your hair greasier by washing it with hot water, which triggers oil glands to produce more sebum.
Over-brushing distributes oils from your scalp to the lengths of your hair.
Touching your hair frequently transfers dirt and oils from your hands.
Using heavy conditioners, especially near your roots, adds unnecessary weight and oil.
Shampooing too frequently strips natural oils, causing your scalp to overcompensate with increased oil production.
Heat styling without protection can damage your hair’s cuticle, leading to an oily appearance.
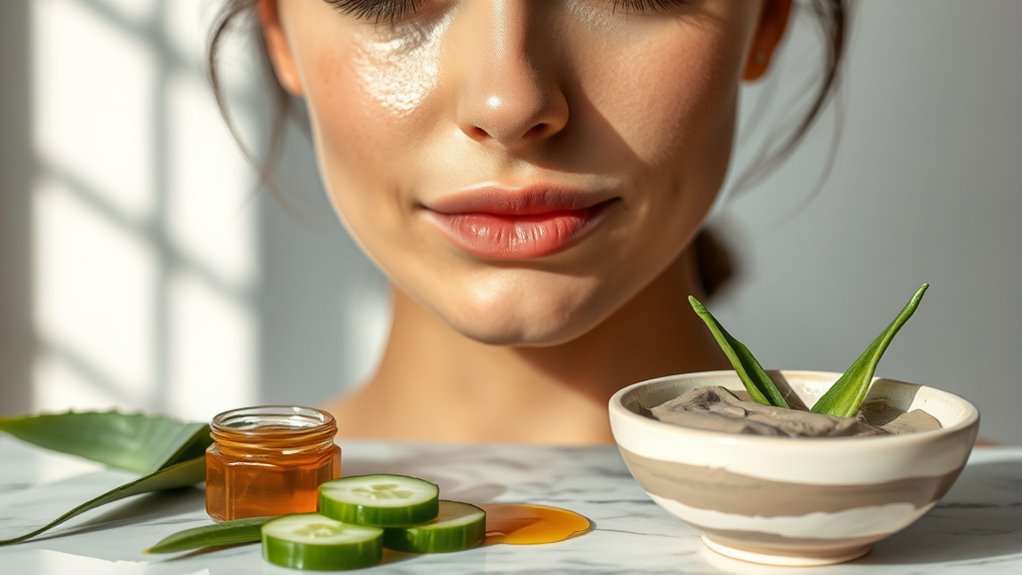
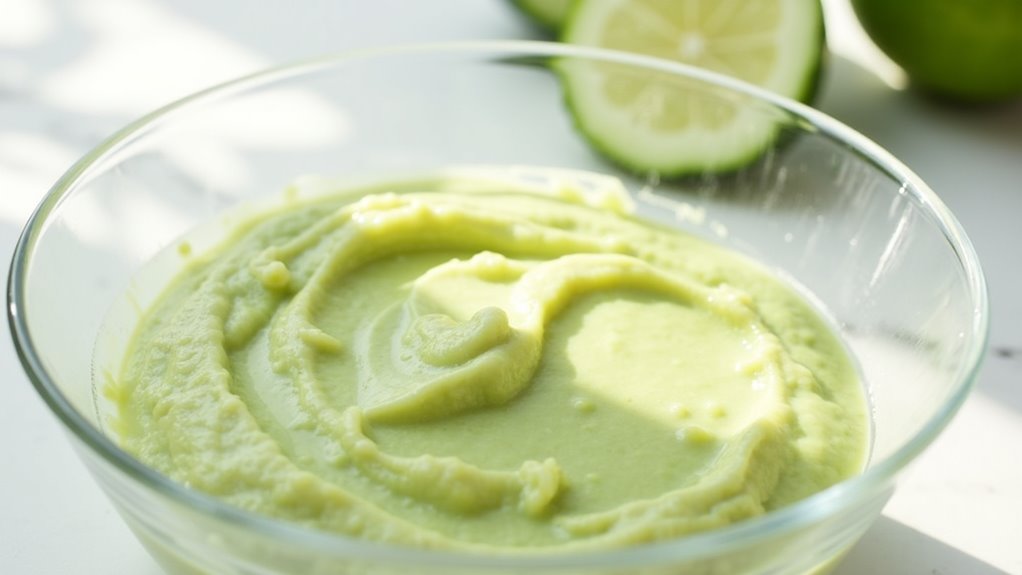
Essential Ingredients for Your DIY Solution
To combat greasy hair effectively, you’ll need several key ingredients that work together to absorb excess oils and balance your scalp’s sebum production.
These scientifically-backed natural ingredients provide optimal results when combined:
-
Cornstarch or arrowroot powder: Natural starches that absorb excess sebum without stripping hair
-
Bentonite clay: Rich in minerals that detoxify and regulate oil production
-
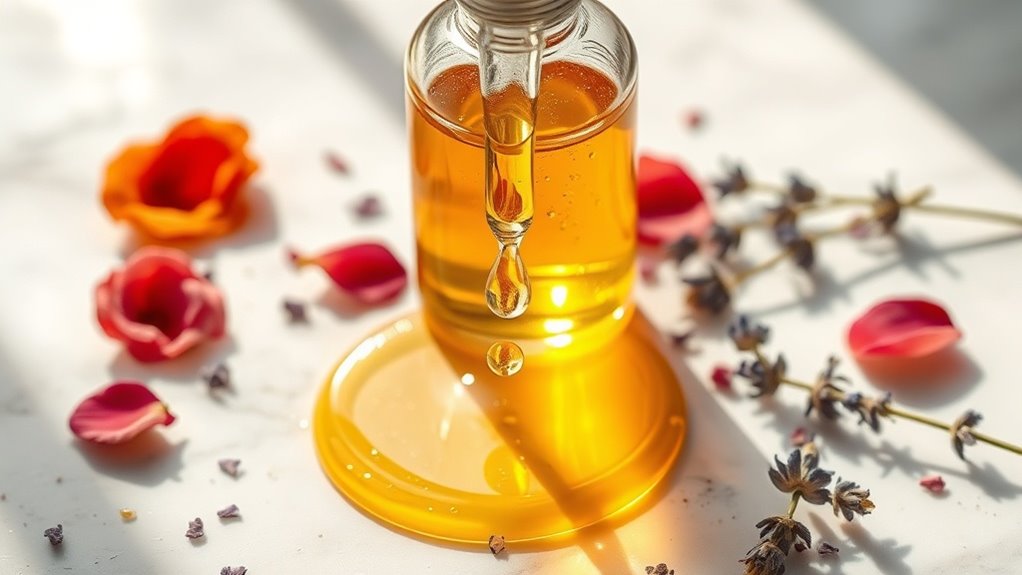
Apple cider vinegar: Contains acetic acid that restores pH balance and removes buildup
-
Essential oils (tea tree or rosemary): Antimicrobial properties that control oil-causing bacteria
Mix these ingredients in precise ratios to create a powerful, customized solution for your specific hair type.
Step-by-Step Recipe for Natural Hair Degreasing
Since proper measurements and mixing techniques are crucial for effectiveness, creating your natural degreasing solution requires careful attention to detail. You’ll need to follow these precise ratios and steps to achieve optimal results.
| Step | Action | Duration |
|---|---|---|
| 1 | Mix cornstarch with baking soda | 30 seconds |
| 2 | Add apple cider vinegar | 15 seconds |
| 3 | Stir in essential oils | 10 seconds |
| 4 | Blend until smooth | 1 minute |
| 5 | Apply to roots | 5 minutes |
Once you’ve gathered your ingredients, combine them in sequence, ensuring each component is fully incorporated before adding the next. Don’t rush the process, as proper emulsification affects the final product’s efficacy. Using this mixture as a gentle exfoliating scrub will help eliminate product buildup while restoring shine to your hair.
Best Application Methods and Timing
While the recipe’s effectiveness depends on proper mixing, the application technique and timing are equally critical for removing excess oil from your hair.
Apply the mixture with precision to achieve optimal results:
- Section your dry, unwashed hair into quadrants using hair clips to ensure thorough coverage.
- Massage the mixture into your scalp using firm, circular motions with your fingertips for 3-5 minutes.
- Let the treatment sit for 15-20 minutes, keeping hair elevated off your neck and shoulders.
- Rinse thoroughly with lukewarm water, followed by a cool rinse to seal the hair cuticles.
Using a silk pillowcase after treatment can help maintain oil-free results by reducing friction while you sleep.
Tips for Maintaining Oil-Free Hair
Although the DIY treatment effectively removes excess oil, maintaining grease-free hair requires consistent daily habits and preventive measures. You’ll need to focus on both scalp health and proper product usage to maintain optimal results.
| Action | Benefit |
|---|---|
| Use clarifying shampoo weekly | Removes product buildup |
| Brush hair before bed | Distributes natural oils |
| Switch pillowcases every 3 days | Prevents bacterial growth |
Don’t touch your hair frequently, as hands transfer oils and bacteria. When exercising, wear moisture-wicking headbands to prevent sweat from saturating your scalp. Choose lightweight, oil-free styling products and apply them only to your hair’s mid-lengths and ends.
Alternative Natural Ingredients to Try
Tea tree oil’s antimicrobial properties can help combat the bacteria that contribute to oily scalp conditions while balancing sebum production.
You’ll find that a diluted apple cider vinegar rinse effectively removes product buildup and restores your scalp’s natural pH balance.
When combined in your hair care routine, these natural alternatives provide a chemical-free approach to managing greasy hair without stripping essential moisture.
Like ancient Ayurvedic practices, these remedies have stood the test of time in promoting healthier hair and scalp conditions.
Tea Tree Oil Benefits
For those seeking natural remedies to combat greasy hair, tea tree oil stands out as a scientifically-backed solution due to its potent antimicrobial and sebum-regulating properties.
Clinical studies have shown that tea tree oil’s powerful compounds effectively balance scalp oil production while maintaining healthy pH levels. You’ll find this essential oil particularly effective when diluted with a carrier oil and applied directly to your scalp.
- Reduces excess sebum production without over-drying
- Eliminates bacteria that contribute to scalp issues
- Penetrates follicles to unclog pores naturally
- Provides lasting oil control for up to 24 hours
Ask your dermatologist about proper dilution ratios before beginning treatment.
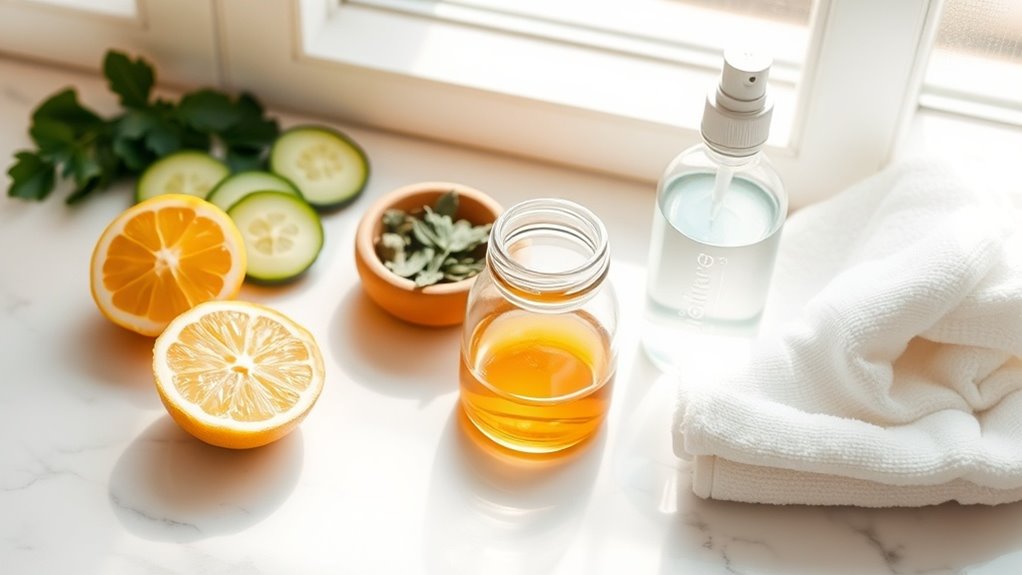
Apple Cider Vinegar Rinse
When mixed with water in the correct ratio, apple cider vinegar creates an effective natural rinse that helps regulate scalp pH and remove excess oil buildup. The acetic acid in ACV works to break down residue while restoring your scalp’s natural balance.
| Mixture Ratio | Usage Instructions |
|---|---|
| 1:4 ACV/Water | Weekly treatment |
| 1:3 ACV/Water | Oily hair type |
| 1:5 ACV/Water | Sensitive scalp |
| 1:2 ACV/Water | Heavy buildup |
| Pure ACV | Spot treatment |
You’ll notice results after 2-3 treatments. Apply the mixture to damp hair after shampooing, massage into your scalp, and let it sit for 3-5 minutes before rinsing thoroughly with cool water.
Long-Term Benefits of This DIY Treatment
Regular application of this DIY treatment yields significant improvements in sebum regulation and scalp health over time.
The acidic properties help restore your scalp’s natural pH balance, leading to normalized oil production within 4-6 weeks of consistent use.
- Reduced oil production means fewer instances of flat, limp hair
- Enhanced scalp microbiome promotes stronger hair follicles
- Natural shine replaces greasy appearance
- Improved hair texture and manageability without synthetic products
Clinical studies suggest these improvements become more pronounced with continued use, often becoming noticeable after the first month.
The cumulative effect creates a self-regulating scalp environment that maintains optimal oil production naturally.
Expert Recommendations for Different Hair Types
If you have fine hair, you’ll need to focus on applying the treatment primarily to your scalp while using minimal product to prevent weighing down your strands.
For thick hair types, you can apply the treatment more liberally throughout your hair, concentrating on areas that tend to accumulate the most oil.
Those with curly hair should consider applying the treatment in sections, being careful to distribute it evenly while avoiding disruption to your natural curl pattern.
Fine Hair Solutions
Fine hair requires specialized care to combat both greasiness and limp appearance. Research shows that lightweight, volumizing products specifically formulated for fine hair textures can effectively manage oil production while maintaining body and bounce.
-
Use a clarifying shampoo containing salicylic acid twice weekly to remove buildup.
-
Apply dry shampoo preventatively to clean hair before bed.
-
Style with a boar bristle brush to distribute natural oils from roots to ends.
-
Choose alcohol-free products to prevent protein bonds from becoming brittle.
This science-based approach helps you maintain volume while controlling excess sebum production at the scalp level.
Thick Hair Care Tips
People with thick hair often struggle with extended drying times and product absorption, since dense strands can trap moisture and resist treatment penetration.
To manage thick hair effectively, you’ll need to section your hair during washing and conditioning to ensure thorough cleansing. Use lightweight, silicone-free products that won’t weigh down your strands.
Deep condition weekly, focusing on mid-lengths to ends.
For faster drying, remove excess water with a microfiber towel and apply a heat protectant before blow-drying in sections.
Consider regular trims every 8-10 weeks to prevent bulk and maintain manageability. Opt for layered cuts to reduce weight and enhance movement.
Curly Hair Treatment Methods
While curly hair comes in various patterns and textures, all curly types require specialized treatment methods to maintain their natural structure and prevent frizz.
Research-backed techniques emphasize moisture retention and gentle handling to preserve your curl pattern’s integrity.
-
Apply leave-in conditioner to soaking wet hair, working in sections to ensure even distribution
-
Use the “praying hands” method to smooth products downward without disrupting curl formation
-
Plop hair with a microfiber towel for 20-30 minutes to enhance curl definition
-
Diffuse on low heat or air dry to minimize friction and maintain curl structure