How to Reduce Knee Pain Relief With 6 At-Home Exercises.
Knee pain slowing you down during daily activities or workouts? These 6 at-home exercises take just 15-20 minutes and target the muscle imbalances that cause knee discomfort—no equipment or gym membership required. You’ll strengthen the supporting muscles around your knee, improve flexibility, and reduce joint stress using simple movements you can do in your living room. Ready to feel better and move more freely? Let’s get started with these evidence-based exercises that work.
Gentle Quad Strengthening for Knee Support

The quadriceps femoris muscle group—comprised of the vastus lateralis, vastus medialis, vastus intermedius, and rectus femoris—functions as the primary dynamic stabilizer of the patellofemoral joint and provides essential eccentric control during weight-bearing activities. When you’re seeking knee pain relief remedies, targeted quadriceps strengthening addresses biomechanical deficiencies that contribute to anterior knee pain.
Perform straight leg raises by lying supine with one knee flexed and the contralateral limb extended. Contract your quadriceps, dorsiflex your ankle, and elevate your leg to 45 degrees. Hold for five seconds before controlled descent. Complete three sets of ten repetitions bilaterally. This isometric exercise enhances vastus medialis obliquus activation without excessive patellofemoral compression, making it ideal for acute inflammatory conditions. Incorporating balance exercises like single-leg stands alongside quadriceps strengthening can further improve knee stability and reduce pain.
Calf Stretches to Reduce Joint Pressure
Tight gastrocnemius and soleus muscles increase compressive forces on the patellofemoral and tibiofemoral joints through altered biomechanics during gait and weight-bearing activities.
You’ll achieve ideal myofascial lengthening by maintaining each static stretch for 30 seconds, performing 3 repetitions per leg, twice daily.
Position your foot at a 15-degree external rotation angle while keeping your knee extended (for gastrocnemius) or slightly flexed (for soleus) to target each muscle head specifically.
These calf raises complement your stretching routine by strengthening the posterior chain muscles, which enhances overall flexibility and reduces knee joint stress when performed regularly.
Proper Calf Stretch Form
When gastrocnemius and soleus muscles maintain chronic tension, they create a posterior pull on the tibia that increases compressive forces through the knee’s tibiofemoral joint.
Execution Protocol:
| Parameter | Gastrocnemius Stretch | Soleus Stretch |
|---|---|---|
| Knee Position | Extended (0° flexion) | Flexed (15-20°) |
| Ankle Dorsiflexion | Maximum tolerable | Maximum tolerable |
| Duration | 30-45 seconds | 30-45 seconds |
| Frequency | 3 repetitions bilateral | 3 repetitions bilateral |
You’ll maintain proper alignment by keeping your hindfoot inverted slightly and ensuring your second toe points toward your target. Don’t allow your arch to collapse medially during dorsiflexion. You’re targeting different muscle bellies: the gastrocnemius requires knee extension, while the soleus demands knee flexion. Apply progressive tension until you’ve reached moderate discomfort without pain.
Duration and Frequency Tips
Holding each calf stretch for less than 30 seconds won’t produce sufficient viscoelastic deformation in your musculotendinous unit to reduce tibiofemoral compression. You’ll need 45-60 seconds per position to achieve adequate sarcomere lengthening and fascial adaptation. Perform bilateral gastrocnemius stretches twice daily, progressing to three sessions if you’re experiencing persistent patellofemoral tracking dysfunction.
Execute soleus-specific stretches with knee flexion for 60 seconds bilaterally. Research demonstrates that consistent morning and evening protocols maximize muscle spindle adaptation and reduce nocturnal contracture formation. You shouldn’t exceed four stretch cycles per session, as additional repetitions don’t enhance collagen remodeling. Space your sessions at least 8 hours apart to allow proper tissue recovery. Monitor your stretch intensity using a 4-6 rating on a 10-point discomfort scale for prime therapeutic benefit without microtrauma.
Hamstring Flexibility Routines for Better Mobility

Tight hamstrings increase compressive forces on the patellofemoral joint by altering the knee’s biomechanical alignment during flexion and extension. Implementing targeted hamstring stretches reduces posterior chain tension, which directly decreases strain on the knee’s articular cartilage and surrounding connective tissues.
You’ll achieve ideal results by performing specific lengthening exercises with proper technique at prescribed frequencies to restore functional range of motion. Incorporating anti-inflammatory foods alongside your exercise routine can further enhance the effectiveness of your hamstring flexibility program by supporting overall joint health.
Benefits of Hamstring Stretching
Hamstring flexibility directly impacts knee joint biomechanics by reducing tensile forces transmitted through the posterior kinetic chain. When you maintain ideal hamstring length, you’ll decrease patellofemoral compression and minimize abnormal tracking patterns of the patella during knee flexion and extension.
Tight hamstrings create excessive posterior tibial translation, which increases stress on the anterior cruciate ligament and menisci.
You’ll experience improved gait mechanics through enhanced stride length and reduced compensatory movements at the hip and ankle joints. Adequate hamstring extensibility allows proper pelvic positioning, preventing anterior tilt that contributes to altered lower extremity alignment.
Research demonstrates that subjects with greater hamstring flexibility exhibit 23% less knee joint loading during dynamic activities. By systematically stretching your hamstrings, you’re optimizing the length-tension relationship of muscles crossing the knee joint, thereby reducing mechanical stress.
Essential Stretches to Try
To achieve ideal hamstring extensibility, you’ll need to implement specific stretching protocols that target both the semimembranosus and semitendinosus medially, and the biceps femoris laterally. Execute these evidence-based techniques with proper biomechanical alignment:
-
Supine Straight Leg Raise: Maintain 90-degree hip flexion while keeping your contralateral limb stabilized. Hold for 30 seconds, ensuring neutral pelvic positioning.
-
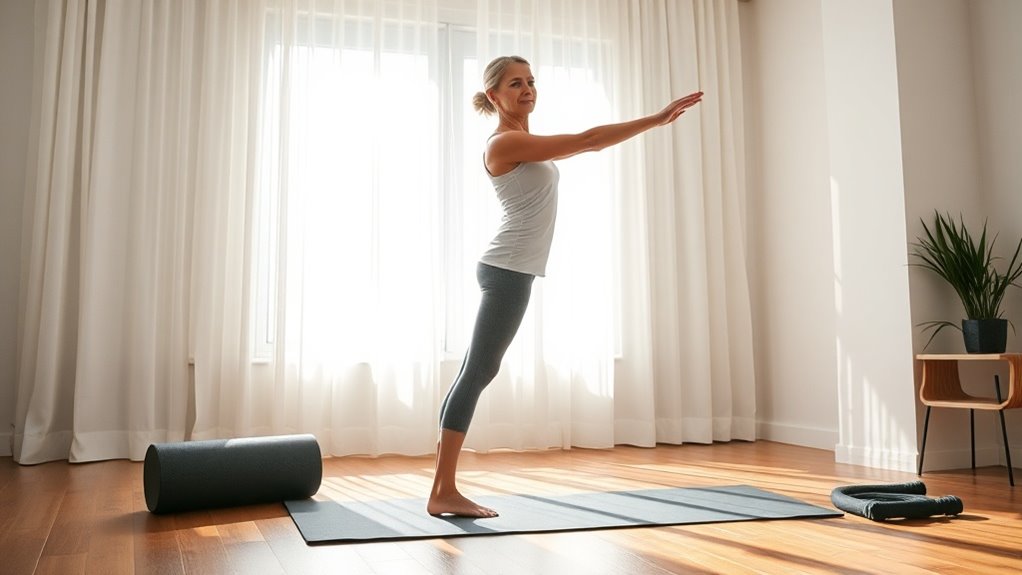
Standing Forward Fold: Hinge at the hip joint with anterior pelvic tilt, maintaining lumbar lordosis. You’ll feel tension at the muscle-tendon junction.
-
Seated Single-Leg Extension: Position your extended limb at 180 degrees while flexing the opposite knee. This isolates individual hamstring components effectively.
Perform each stretch bilaterally for three sets daily. You’ll attain excellent results through consistent progressive overload and controlled breathing patterns during execution.
Proper Form and Frequency
| Parameter | Specification |
|---|---|
| Duration per stretch | 30-60 seconds |
| Repetitions | 3-4 sets bilaterally |
| Frequency | 5-7 days weekly |
| Intensity | 6-7/10 on discomfort scale |
| Rest interval | 15-30 seconds between sets |
Maintain neutral pelvic alignment during execution—anterior tilt compromises biceps femoris, semitendinosus, and semimembranosus lengthening. You’ll maximize sarcomere addition through sustained tension without ballistic movements. Monitor knee joint angle; hyperextension risks posterior capsule strain. Progressive overload occurs through incrementally increasing hip flexion range rather than force application. Consistency supersedes intensity—daily moderate stretching yields superior collagen remodeling compared to sporadic aggressive attempts.
Low-Impact Wall Sits to Build Stability
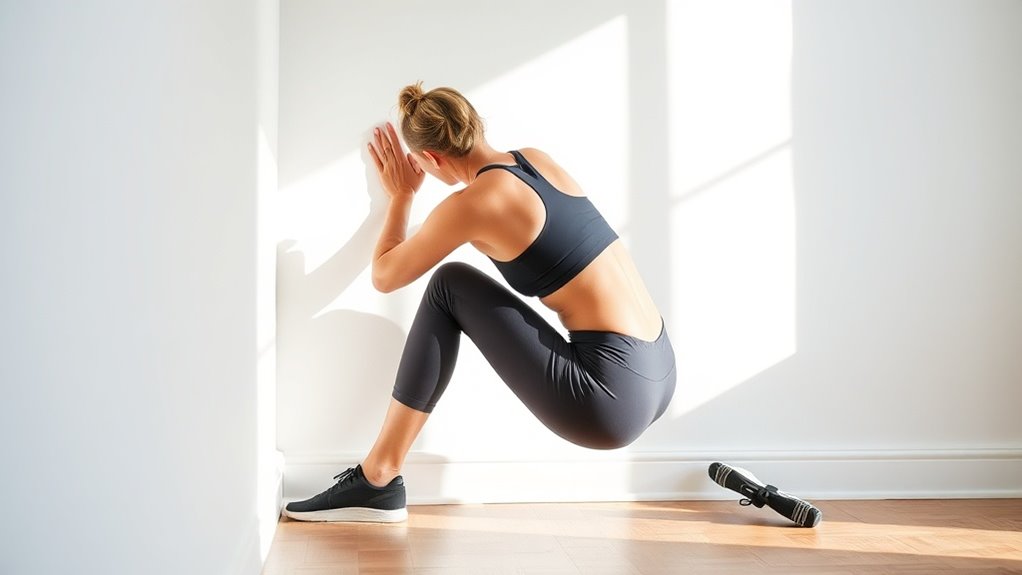
While many knee-strengthening exercises require dynamic movement, wall sits provide an isometric alternative that builds muscular endurance in the quadriceps femoris, gluteus maximus, and hip adductors without generating excessive tibiofemoral compressive forces.
Position yourself against a wall with your feet hip-width apart, approximately 60 centimeters from the baseboard. Lower until your femurs reach parallel with the floor, maintaining a 90-degree knee angle. This position optimizes vastus medialis obliquus activation while minimizing patellofemoral stress.
Key execution parameters include:
- Maintain neutral spine alignment with scapulae retracted against the wall
- Distribute weight evenly through the plantar surface, avoiding forefoot dominance
- Keep patellae aligned with second toes throughout the hold
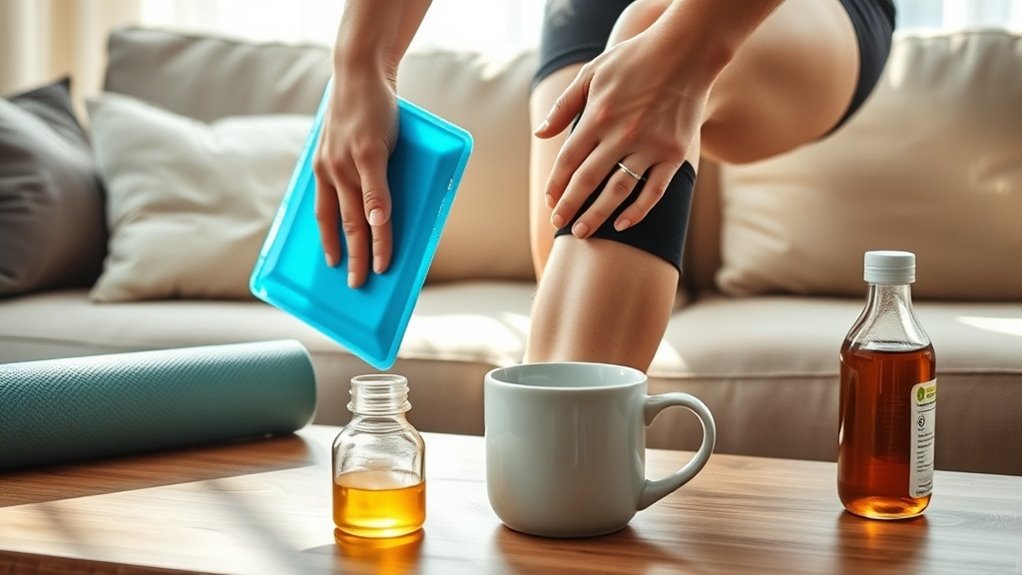
Hold for 20-45 seconds initially, progressing duration as tolerance improves. You’ll develop enhanced proprioception and joint stabilization through sustained muscular co-contraction. For additional support during recovery from acute injuries, consider incorporating cold therapy techniques during the first 48-72 hours to manage inflammation before beginning wall sit exercises.
Knee-to-Chest Movements for Pain Relief
When lower back tension accompanies knee discomfort, knee-to-chest stretches address both regions by elongating the lumbar erector spinae and promoting flexion-based decompression of the posterior knee capsule.
You’ll lie supine on a firm surface, maintaining neutral cervical alignment. Draw one knee toward your chest using interlaced fingers positioned at the tibial plateau’s anterior surface. Hold this position for 30 seconds while the hamstrings and gastrocnemius undergo passive lengthening. You’ll feel tension dissipate along the popliteal fossa as synovial fluid redistributes within the joint space.
Perform bilateral repetitions by pulling both knees simultaneously, which increases lumbar flexion and reduces compressive forces on the patellofemoral joint. Complete three sets of 30-second holds twice daily. This movement pattern reduces morning stiffness and improves knee extension range of motion through reciprocal inhibition mechanisms. Similar to how proper hydration supports inner ear fluid balance in vertigo management, maintaining adequate water intake can optimize synovial fluid production for enhanced joint lubrication.
Targeted Range-of-Motion Techniques for Joint Health

Because articular cartilage lacks direct blood supply, synovial fluid circulation depends entirely on joint movement to deliver nutrients and remove metabolic waste products. You’ll optimize chondrocyte metabolism by performing controlled range-of-motion exercises that facilitate nutrient diffusion through the cartilage matrix.
Implement these evidence-based techniques to maintain articular health:
- Heel slides: Position yourself supine, actively flex your knee by sliding your heel toward your gluteus, maintaining patellofemoral tracking alignment
- Seated knee extensions: Contract your quadriceps to achieve terminal knee extension, holding for 5 seconds to enhance synovial fluid distribution
- Ankle pumps: Perform dorsiflexion and plantarflexion movements to promote circulatory flow through the lower kinetic chain
Execute 10-15 repetitions per exercise, ensuring you’re moving through pain-free ranges. This systematic approach enhances proteoglycan synthesis while preventing capsular contracture. Combined with non-weight-bearing exercises like straight leg raises during initial rehabilitation phases, these movements create the foundation for progressive strengthening protocols.