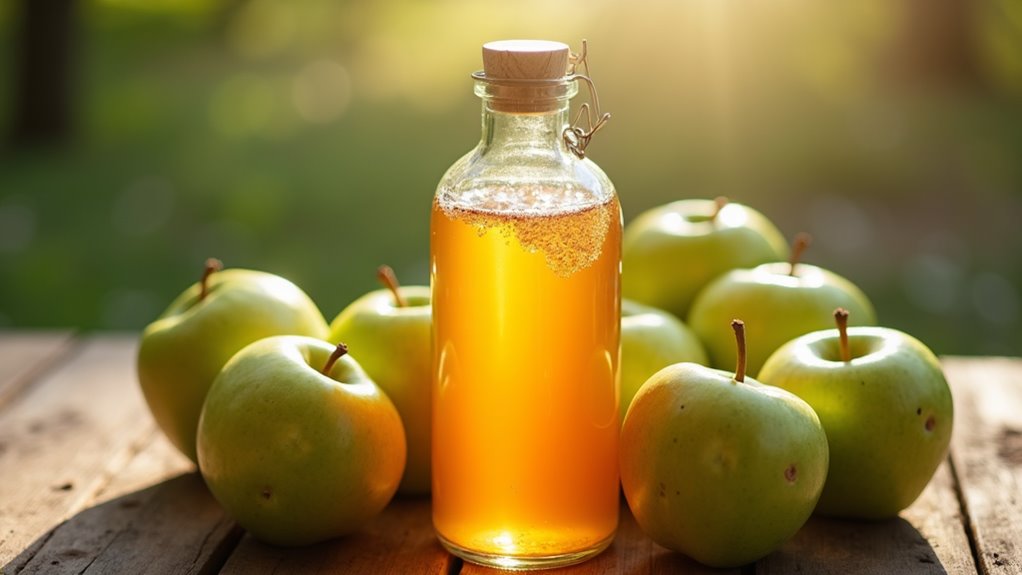
How I Make My Own Homemade Apple Cider Vinegar
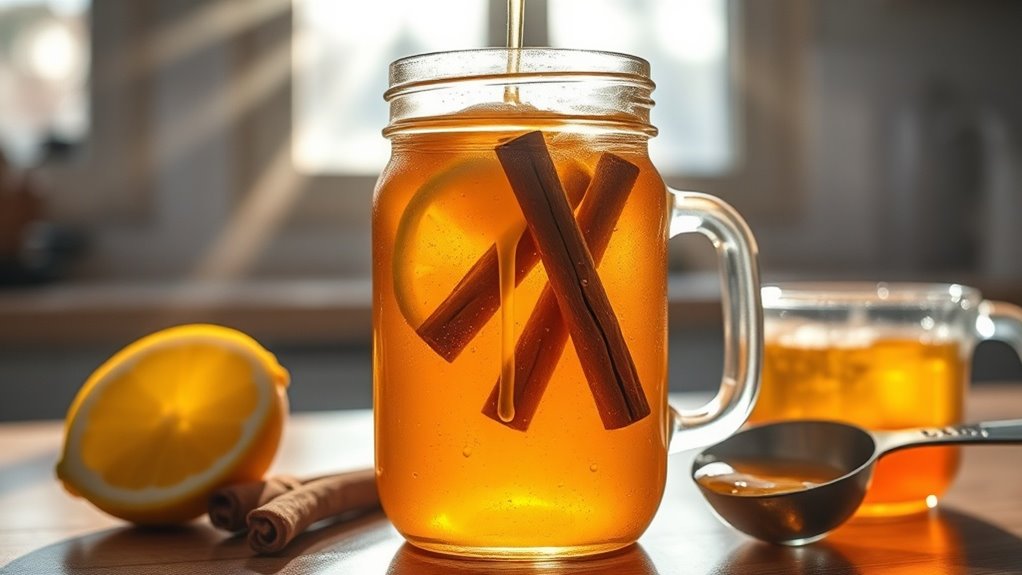
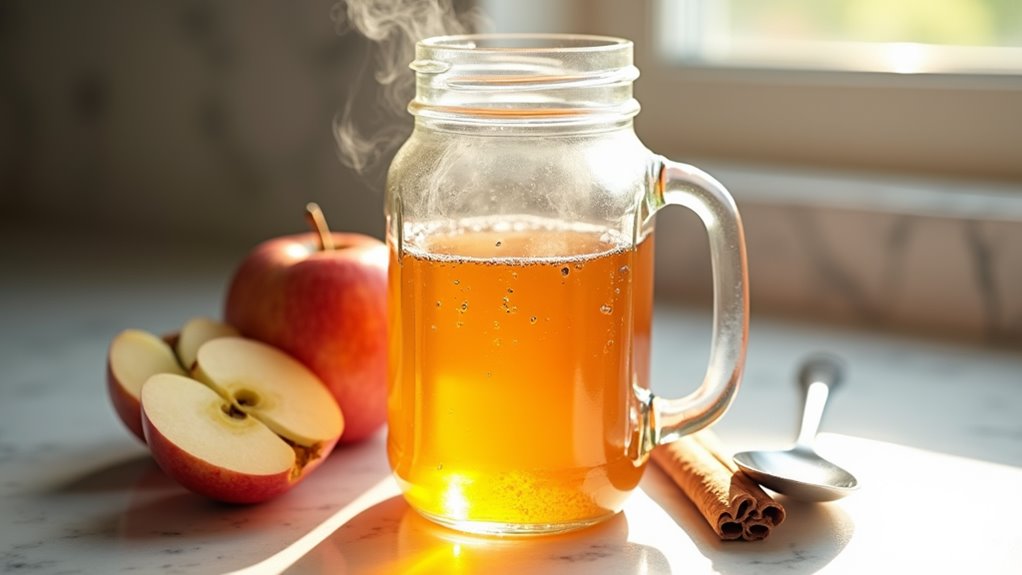
To make your own homemade apple cider vinegar, collect organic apple scraps like peels and cores, and mix them with sugar and water in a sterilized jar. Allow the mixture to ferment indoors, stirring daily for 3-4 weeks until you notice bubbling and a faint alcohol smell. Strain out the solids and let the liquid ferment further for another 4-6 weeks, monitoring acidity. Your vinegar’s health benefits are just the beginning of this delicious journey!
Ingredients and Supplies Needed
To kick off your homemade apple cider vinegar journey, you’ll need a few essential ingredients and supplies. Gather organic apple scraps—peels and cores—free from mold. Sugar is crucial; about 2 tablespoons or a quarter cup will do. You’ll also need enough water to cover the scraps, about 2 cups per jar. Use a sterilized quart-sized mason jar for fermentation, mixing the ingredients with a spoon. Cover the jar with cheesecloth secured by a rubber band, allowing air in while keeping dust out. Additionally, using organic apples or scraps allows you to save costs and reduce waste in your kitchen. The sugar will help initiate the fermentation process, leading to beneficial compounds in the final vinegar. With these items ready, you’re set to create your delicious homemade apple cider vinegar!
Collecting Apple Scraps
Now that you’ve gathered your ingredients and supplies, it’s time to focus on collecting apple scraps.
These scraps are essential for your vinegar-making journey.
Here’s how to maximize your collection:
-
Use peels and cores from your apple preparations, like pies or applesauce.
-
Add in bruised or imperfect apples to minimize waste, as they still contribute valuable nutrients for the fermentation process.
-
Ensure your scraps are fresh and remove any seeds to avoid bitterness.
Additionally, you can freeze peels and cores when you have a lot so you can accumulate enough for a vinegar batch in the future.
Store your collected scraps in a clean container, preferably glass, and keep them cool if you’re not using them right away. This will ensure you have optimal scraps for rich, flavorful vinegar, as raw, unfiltered apple cider vinegar with “the mother” offers maximum benefits!
Combining Ingredients for Fermentation
Once you’ve gathered your apple scraps and other essential ingredients, you’ll want to combine them effectively to kickstart the fermentation process.
Begin by mixing pure apple juice with a sugar-water solution, using one tablespoon of sugar per cup of water if desired.
Activate your yeast by steeping it in warm water, then add it to the mixture. This mixture must be adequately aerated to encourage the growth of Acetobacter bacteria, which play a crucial role in transforming the ethanol into acetic acid.
Ensure you mix well to aerate, promoting fermentation.
Pour the blend into sanitized fermentation jars, cover with a breathable cloth, and install airlocks for optimal conditions.
Maintaining room temperature will help your ingredients thrive, setting the stage for delicious homemade apple cider vinegar.
The First Fermentation Stage
With your ingredients combined and ready, the first fermentation stage begins, kicking off the transformation of your apple mixture into tangy vinegar.
Set your jar in a cool, dark place, ideally between 60 and 80 degrees F, and cover it with breathable materials like cheesecloth. Apple scrap vinegar is made from a water mixture, distinguishing it from traditional ACV.
Over the next 3 to 4 weeks, keep an eye out for:
- Bubbles that signal active fermentation.
- A faint alcoholic smell as sugars convert.
- Calming bubbles indicating the end of this stage.
Remember to stir regularly using non-metal utensils to ensure even fermentation.
Enjoy watching your homemade vinegar develop!
Straining and Re-fermenting
Strain the fermented apple mixture carefully to unveil the liquid gold that’s waiting to blossom into vinegar. Use a fine-mesh strainer or cheesecloth to separate the solid apple pieces from the shimmering liquid.
For extra clarity, filter through coffee filters to remove the mother, preventing spoilage. Proper storage conditions are essential to maintain the quality of the vinegar you’ll create during this process.
Let the mash rest in the strainer for up to 24 hours for maximum juice extraction. Compost the solids or repurpose them.
Once you’ve strained the liquid, transfer it to a clean jar, cover with breathable cloth, and encourage fermentation by storing it in a warm, dark spot for 4 to 6 weeks.
The Second Fermentation Stage
During the second fermentation stage, daily stirring is crucial to keep the Acetobacter bacteria thriving and evenly distribute the yeast throughout the mixture. You’ll also want to monitor the acidity level regularly; this will help you track the transformation of your apple cider into flavorful vinegar. Regular consumption may aid blood sugar management when taken before meals, adding a potential health benefit to your homemade ACV.
Daily Stirring Importance
Why is daily stirring often overlooked in the second fermentation stage of homemade apple cider vinegar?
While many recipes leave it undisturbed, daily stirring can greatly enhance the fermentation process.
Here’s why you might consider incorporating it:
- Oxygen Boost: Stirring introduces crucial oxygen, promoting acetic acid bacteria’s activity.
- Even Fermentation: It helps distribute the natural sugars evenly, resulting in a consistent flavor.
- Progress Monitoring: You’ll notice changes in smell and sediment, ensuring fermentation’s on track.
Acidity Level Monitoring
After you’ve kept up with daily stirring, it’s time to focus on acidity level monitoring, a vital part of the second fermentation stage.
Begin assessing acidity two weeks in, when the mother of vinegar forms.
Use pH paper to check for an ideal pH between 3.3 and 3.5, indicating around 5% acetic acid.
You can also conduct taste tests and smell assessments to gauge progress.
Remember to avoid metal utensils to prevent contamination.
As acidity stabilizes after 3-4 weeks, monitor it intermittently.
These tests ensure your homemade vinegar is safe while developing its distinct flavor.
Monitoring Acidity Levels
Monitoring the acidity levels of your homemade apple cider vinegar is crucial for achieving the right flavor and safety.
By using simple tools like pH paper or electronic meters, you can easily test and ensure your vinegar stays within the ideal acidity range of 3.3 to 3.5.
Keeping an eye on these levels not only enhances your vinegar’s taste but also guarantees it’s effective for your culinary needs.
Testing Vinegar’s Acidity
How can you ensure your homemade apple cider vinegar maintains the perfect acidity?
It’s crucial to test regularly.
Here are three effective methods you can use:
-
pH Meter: Get precise readings instantly with a handy pH meter.
-
Titration: Use sodium hydroxide to accurately neutralize acetic acid; just be prepared for detailed measurements.
-
pH Strips: For a quick check, pH strips offer a low-cost solution, although they’re less precise.
Ideal Acidity Levels
Achieving the ideal acidity level in your homemade apple cider vinegar is crucial for both safety and flavor.
Aim for 4-5% acetic acid and a pH between 2.75 and 3.5; this prevents harmful bacteria while enhancing taste.
Monitor your fermentation closely: longer durations and warmer temperatures boost acidity.
Use tools like Hydrion paper to confirm pH levels and a refractometer to check sugar content, predicting acid yield.
Blending batches can help you hit that sweet spot, ensuring consistency.
Remember, a lower pH not only preserves your vinegar but also fine-tunes its delightful tanginess.
Happy fermenting!
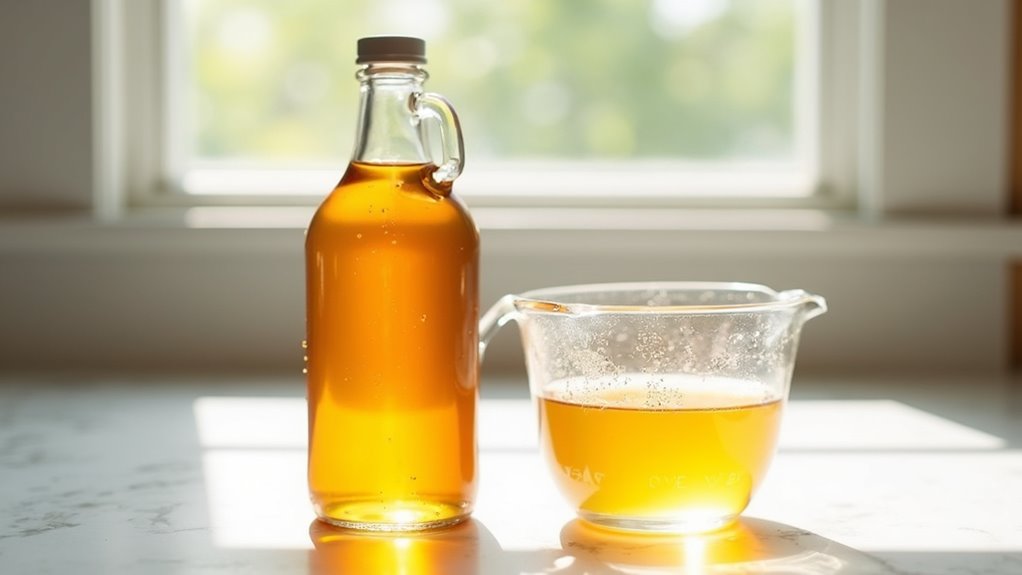
Finalizing and Storing the Vinegar
As you wrap up the fermentation process of your homemade apple cider vinegar, it’s essential to focus on a few key steps to finalize and store it properly.
- Taste Testing: Regularly taste to check acidity; using a straw helps avoid disturbing the mother.
- Filtration: Strain through cheesecloth or a coffee filter to remove the mother.
- Bottling: Transfer your vinegar to a sanitized, dark-tinted bottle for storage in a cool, dark place. Keeping your vinegar away from light helps maintain its freshness indicators, allowing it to last longer.
These steps ensure your vinegar remains fresh and flavorful while maximizing its shelf life.
Happy bottling!
Exploring Health Benefits and Uses
Why is homemade apple cider vinegar gaining popularity in health circles?
Its impressive health benefits draw many to this kitchen staple.
You’ll find it helps improve insulin sensitivity, aiding in blood sugar management, especially for those with type 2 diabetes.
People often use it for weight loss since it promotes satiety and reduces cravings.
Its antimicrobial properties fight harmful pathogens, while it may support digestive health by reducing bloating.
Plus, you could enjoy potential antioxidant benefits for your heart. Additionally, using apple cider vinegar in your morning routine may enhance mental clarity and promote overall wellness.
Just remember to consult your doctor before incorporating it into your routine, particularly if you’re managing a health condition.