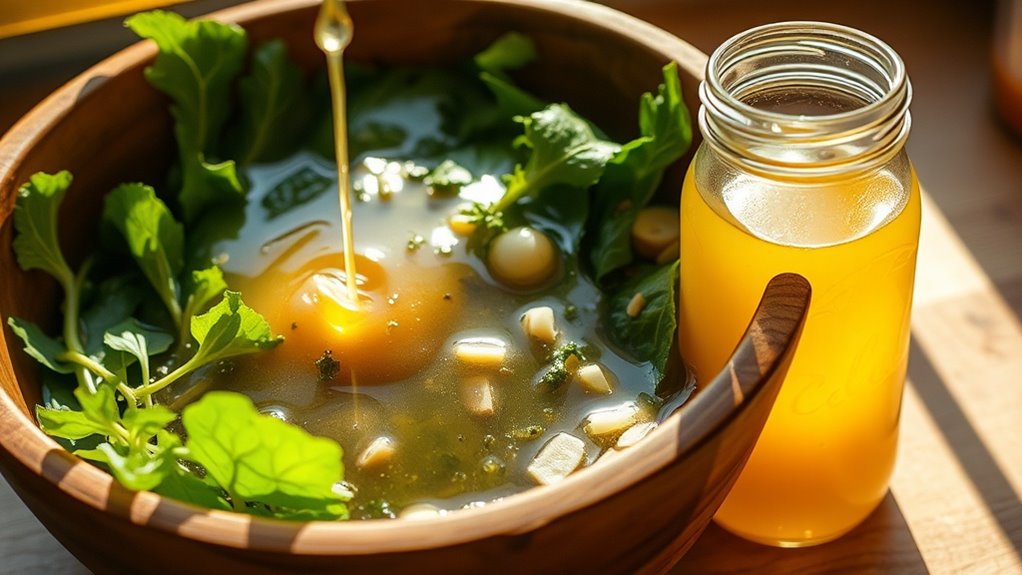
Homemade Apple Cider Vinegar- Here’s How I Make It
Why Make Your Own Apple Cider Vinegar
Many people are turning to homemade apple cider vinegar as a cost-effective and sustainable alternative to store-bought versions. By making your own, you’ll know exactly what ingredients are used, avoiding artificial additives and preservatives common in commercial products.
Making homemade apple cider vinegar allows you to reduce food waste by utilizing apple scraps and cores. You’ll also save money, as a small investment in basic supplies yields multiple batches.
The process gives you control over fermentation time, resulting in your preferred flavor intensity and acidity level. Plus, you can create an endless supply of vinegar from your initial batch. Additionally, homemade apple cider vinegar is packed with antioxidants that can boost your immune system.
Essential Ingredients and Equipment
A successful batch of homemade apple cider vinegar requires just a few basic items and pieces of equipment. You’ll need fresh, organic apples, filtered water, and raw honey or sugar. The essential tools include a clean glass jar, cheesecloth, and rubber bands.
| Essential Item | Purpose | Quality Tips |
|---|---|---|
| Apples | Base ingredient | Organic, unwaxed |
| Filtered Water | Dilution medium | Non-chlorinated |
| Raw Honey/Sugar | Food for bacteria | Unprocessed, pure |
| Glass Jar | Fermentation vessel | Wide-mouth, 1-gallon |
| Cheesecloth | Oxygen access | Tightly woven |
These carefully selected ingredients and tools ensure proper fermentation and protect your vinegar from contamination during the brewing process. Additionally, using raw honey as a food source for bacteria can enhance the fermentation process, resulting in richer flavors and potential health benefits.
Preparing the Apple Mixture
The initial step in crafting apple cider vinegar involves preparing a clean, uniform mixture of apple pieces.
Cut your apples into 1-inch cubes, removing any bruised spots or damaged areas. You’ll want to keep the peels and cores, as they contain natural yeasts essential for fermentation.
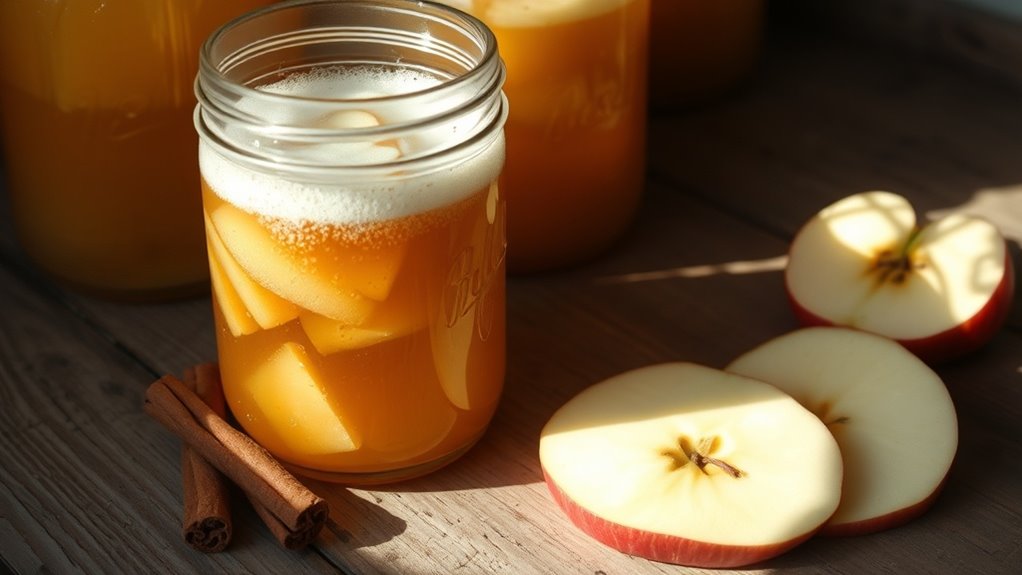
Place the cut apples in a large glass jar, filling it about 3/4 full.
Cover the apple pieces with filtered water until they’re fully submerged. Add raw honey or organic cane sugar, using 1/4 cup per quart of water, and stir until dissolved. The sugar will feed the fermentation process. Additionally, using raw, unfiltered ACV can provide extra benefits for your hair due to its natural enzymes and antimicrobial properties.
The First Fermentation Stage
During the first fermentation stage, you’ll need to create an optimal environment to grow beneficial bacteria by placing your apple mixture in a spot that’s between 65-75°F (18-24°C).
You’ll notice small bubbles forming as the natural yeasts begin converting sugars into alcohol, which is essential for vinegar production.
To support this process, you can add 1/4 cup of raw sugar per quart of apple mixture, ensuring there’s enough food for the bacteria to thrive.
Growing Beneficial Bacteria
Once you’ve combined your apple scraps with sugar water, beneficial bacteria will begin their essential work of converting natural sugars into alcohol. During this stage, you’ll notice bubbles forming and a slight fermentation smell developing. Keep your mixture in a dark, room-temperature location (65-75°F).
| Time Period | Signs of Activity | Action Needed |
|---|---|---|
| Days 1-3 | Bubbling starts | Stir daily |
| Days 4-7 | Foam develops | Keep covered |
| Days 8-14 | Settling occurs | Leave undisturbed |
Your mixture needs consistent airflow, so cover it with a breathable cloth to keep out debris while allowing oxygen exchange. Watch for a white film developing on the surface – this indicates healthy bacterial growth.
Sugar Mix and Temperature
Creating the ideal sugar-to-water ratio marks a critical first step in apple cider vinegar fermentation.
You’ll need to dissolve 1/4 cup of raw sugar per quart of filtered water, ensuring complete dissolution before proceeding. This mixture provides essential food for your beneficial bacteria.
Maintain a consistent temperature between 68-72°F (20-22°C) throughout the first fermentation stage.
If your kitchen runs cool, consider using a heating pad or placing the container in a warmer spot.
Don’t exceed 75°F (24°C), as higher temperatures can promote unwanted bacterial growth and affect the final taste of your vinegar.
The Second Fermentation Process
After your initial fermentation has produced alcoholic cider, you’ll need to convert that alcohol into acetic acid through a second fermentation process.
Remove the fruit scraps and strain the liquid through a cheesecloth into a clean glass container. Add raw, unpasteurized apple cider vinegar as a starter culture – about 2 tablespoons per cup of liquid.
Cover the container with a breathable cloth and secure it with a rubber band. Store in a dark place at room temperature (65-75°F) for 3-4 weeks.
You’ll notice a new mother forming on top. The vinegar’s ready when it smells sharp and tastes appropriately acidic. This raw, unfiltered apple cider vinegar will yield the maximum health benefits and is essential for a successful fermentation process.
Signs of Successful Fermentation
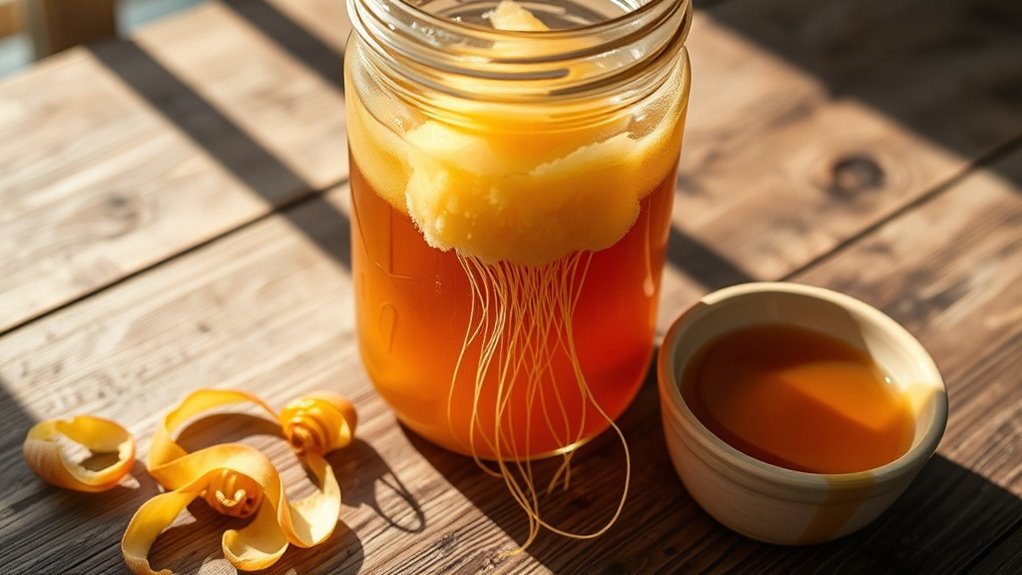
During successful fermentation, you’ll notice your apple cider vinegar developing a cloudy appearance and forming a gelatinous layer called “mother” on the surface. You’ll detect a strong vinegar-like aroma that’s sharp and acidic, replacing the initial sweet apple scent. The finished vinegar should taste distinctly sour with subtle apple undertones, indicating proper acetic acid development. This fermentation process not only results in vinegar but also enhances mental clarity, making it a beneficial addition to your morning routine.
Visual Signs of Progress
While your homemade apple cider vinegar ferments, you’ll notice several distinct visual changes that indicate successful progression. You’ll observe the formation of a gelatinous mother culture, color transformations, and varying levels of cloudiness throughout the process.
| Stage | Color | Appearance |
|---|---|---|
| Week 1 | Light amber | Clear, bubbling |
| Week 2 | Medium amber | Cloudy, mother forms |
| Week 3 | Dark amber | Mother thickens |
| Week 4 | Deep brown | Mother sinks, liquid clears |
Watch for the liquid to transition from sweet-smelling apple juice to a sharp, vinegary aroma as these visual changes occur. The mother’s development marks a crucial turning point in fermentation.
Desired Flavor and Smell
Success in homemade apple cider vinegar fermentation relies heavily on recognizing the proper flavor and aroma markers.
You’ll notice a sharp, acidic scent that’s distinctly vinegar-like, without any musty or off-putting notes. The taste should be tart and crisp, with a lingering apple undertone.
Your finished vinegar should have a clean, bright sourness that makes your mouth pucker slightly. If you detect sweetness, it needs more fermentation time.
The aroma shouldn’t be alcohol-like or yeasty. When properly fermented, you’ll experience a pleasant, fruity-acidic bouquet that’s characteristic of commercial apple cider vinegar.
Storing Your Finished Vinegar
Once you’ve achieved the desired tangy flavor and acidity in your homemade apple cider vinegar, proper storage becomes crucial for maintaining its quality.
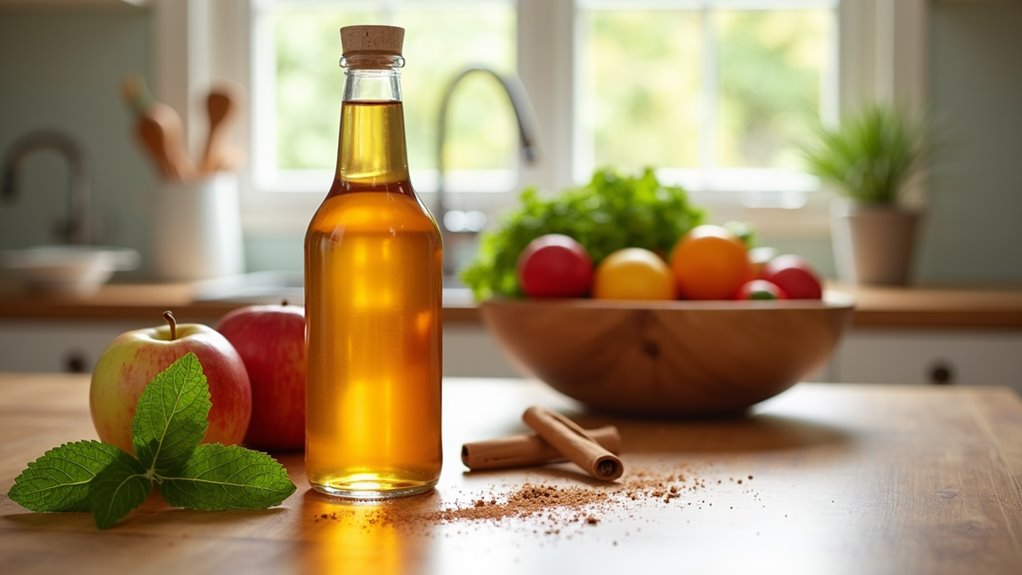
Transfer your vinegar into sterilized glass bottles or jars with airtight lids. Store them in a cool, dark place away from direct sunlight, ideally at temperatures between 50-70°F.
Don’t use metal containers, as the acid can cause corrosion. You’ll want to keep your vinegar away from heat sources and strong odors.
While refrigeration isn’t necessary, it can help preserve the flavor longer. Properly stored, your homemade apple cider vinegar will keep its quality for up to two years.
Common Problems and Solutions
Making homemade apple cider vinegar can present several common challenges that might affect your final product.
If you notice a cloudy sediment at the bottom, don’t worry – that’s the “mother” and it’s beneficial. However, if you see mold on the surface, discard the batch and start over.
Your vinegar might ferment too slowly in cold temperatures, so maintain room temperature between 60-80°F. If there’s no fermentation activity after two weeks, try adding raw vinegar with active cultures.
When your vinegar’s too weak, let it ferment longer or reduce the initial water ratio.
Uses for Homemade Apple Cider Vinegar
Your homemade apple cider vinegar serves numerous practical purposes both in and outside the kitchen.
You can use it to make tangy salad dressings, marinades, and pickled vegetables. Add it to baked goods for extra lift or use it to tenderize tough cuts of meat.
Mix it with water for a natural household cleaner or combine it with herbs for a hair rinse.
In the garden, dilute it to create an effective pest deterrent or weed killer.
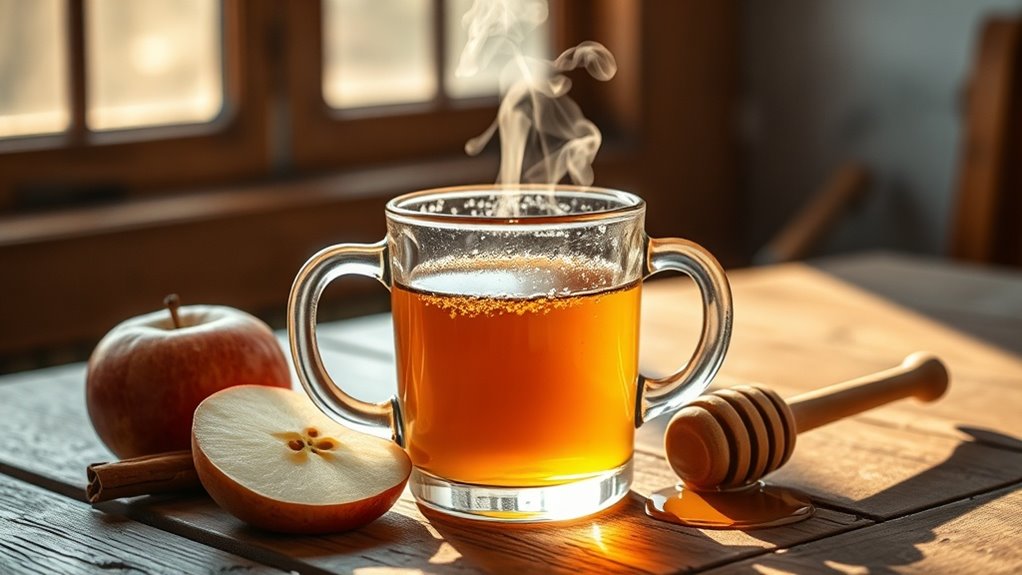
For wellness applications, you can incorporate it into facial toners, add it to morning beverages, or use it to soothe sunburns.

