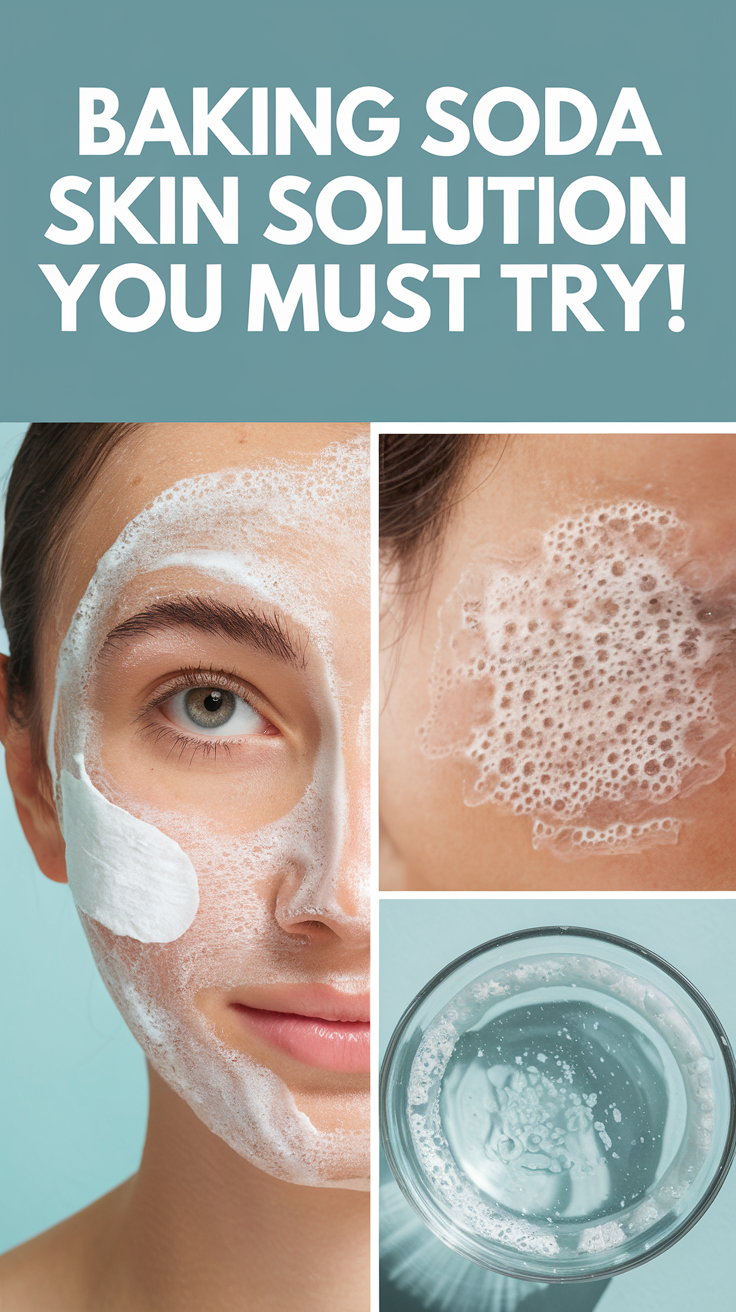
Baking Soda Skin Solution You Must Try!
Transform your skincare routine with a simple baking soda mask that gently exfoliates and balances your skin’s pH levels. Mix one tablespoon of pure baking soda with enough water to form a smooth paste, then apply in gentle circular motions. Let it sit for 1-2 minutes before rinsing with lukewarm water. You’ll notice smoother, brighter skin after just one treatment. Discover how to enhance this natural solution with powerful add-ins for your specific skin type.
Key Takeaways
-
Mix one tablespoon of baking soda with water to create a gentle exfoliating paste for smoother, brighter skin.
-
Add raw honey to the baking soda mixture for sensitive skin, or lemon juice for oily skin types.
-
Apply the paste in circular motions, leave for 1-2 minutes, then rinse with lukewarm water.
-
Use the treatment only 1-2 times per week to maintain skin’s natural pH balance and prevent irritation.
-
Follow treatment with a gentle moisturizer and avoid makeup for 24 hours to maximize benefits.
Why Baking Soda for Skincare?
While many expensive skincare products line store shelves, baking soda offers a simple and cost-effective solution for various skin concerns.
You’ll love how this versatile household staple can transform your skincare routine and help you achieve that coveted healthy glow everyone’s talking about.
As a natural exfoliant, baking soda gently removes dead skin cells and unclogs pores without harsh chemicals.
It’s perfect for those seeking clean, natural beauty alternatives that really work.
When you make a baking soda face mask, you’re joining countless others who’ve discovered this time-tested remedy.
The mild alkaline properties help balance your skin’s pH levels and tackle common issues like acne and excessive oil production.
Best of all, you don’t need to spend a fortune to get amazing results.
Understanding Your Skin Type
Before diving into baking soda skincare solutions, you’ll need to identify your specific skin type to achieve the best results.
You’ll find yourself in one of five main categories: oily, dry, combination, normal, or sensitive skin.
If your face feels greasy and shiny throughout the day, you’ve got oily skin.
Dry skin feels tight and may have flaky patches.
With combination skin, you’ll notice an oily T-zone but dry cheeks.
Normal skin feels balanced and healthy, while sensitive skin reacts easily to products with redness or irritation.
Test your skin type by washing your face and waiting an hour without applying products.
The way your skin feels and looks will reveal which category you’re in, helping you customize your baking soda treatment effectively.
Essential Ingredients for the Mask
Now that you’ve identified your skin type, let’s focus on gathering the right ingredients for your baking soda face mask.
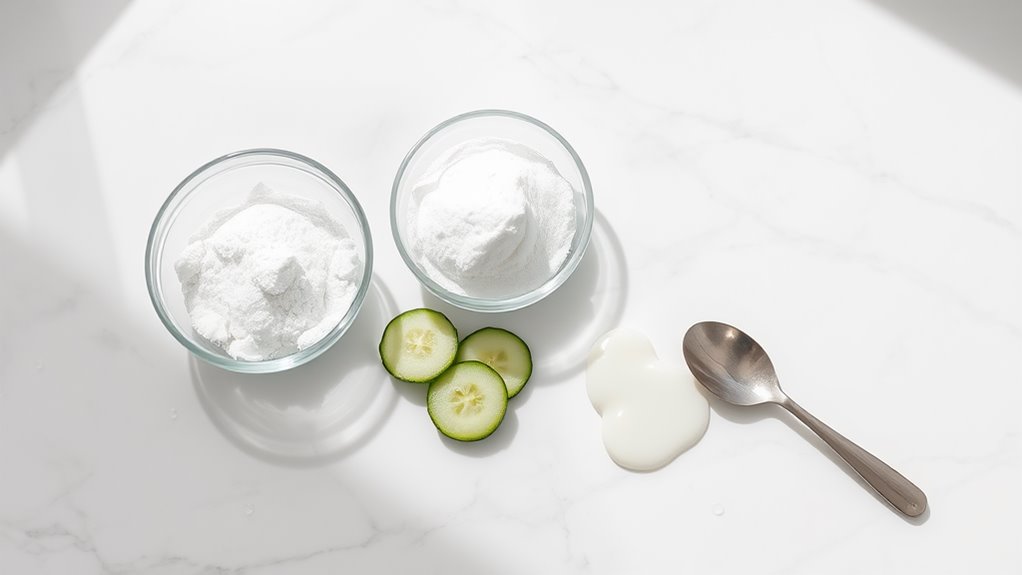
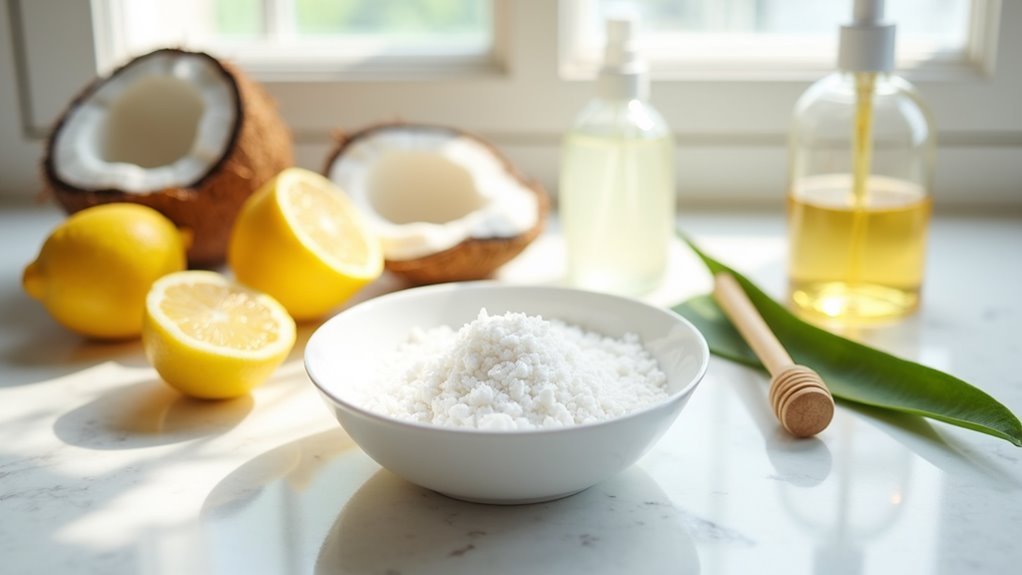
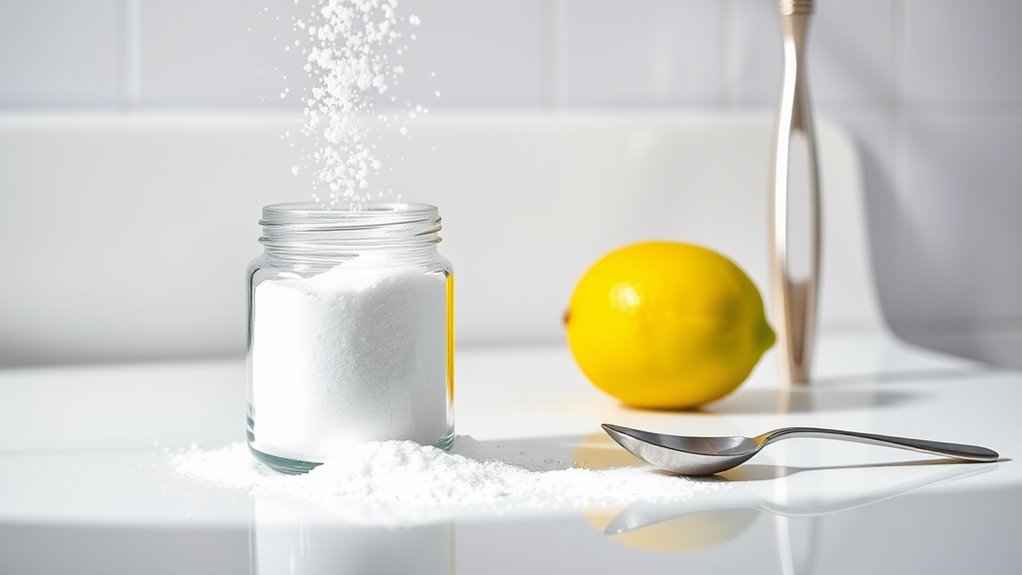
You’ll need three basic items that you probably already have in your kitchen: pure baking soda, filtered water, and a small mixing bowl.
For sensitive or dry skin, add a teaspoon of raw honey to soothe and moisturize.
If you’re dealing with oily or acne-prone skin, squeeze in a few drops of fresh lemon juice for its natural astringent properties.
Those with combination skin will benefit from adding half a teaspoon of coconut oil, which helps balance oil production while hydrating dry areas.
Remember to use aluminum-free baking soda and always measure your ingredients precisely to create the perfect consistency for your skin’s needs.
Preparing Your Face for Treatment
To guarantee the best results from your baking soda mask, proper facial preparation is essential. Start by pulling your hair back and securing it with a headband to keep your face completely clear.
You’ll want to thoroughly cleanse your face with your regular facial cleanser, removing all traces of makeup and dirt.
Next, open up your pores by placing a warm, damp washcloth over your face for 30 seconds. This steaming process will help the mask penetrate more effectively.
Gently pat your face dry with a clean towel, being careful not to rub or irritate your skin.
Now your skin is ready to fully absorb all the beneficial properties of your baking soda mask, just like the ones used in professional spa treatments.
Basic Baking Soda Mask Recipe
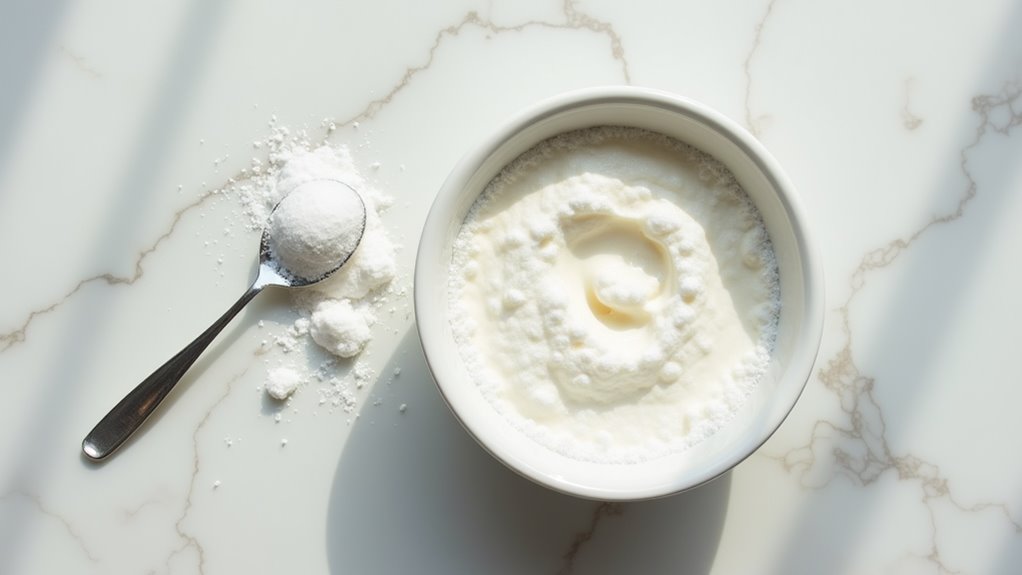
Creating a basic baking soda mask requires just two simple ingredients: baking soda and water.
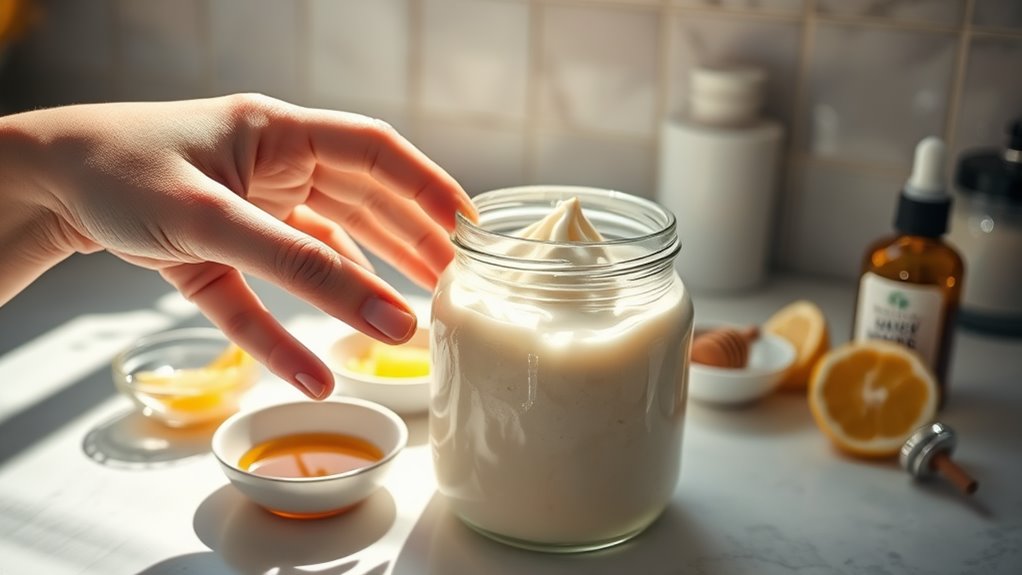
Mix one tablespoon of baking soda with enough water to form a smooth paste – you’ll want a consistency similar to toothpaste.
Apply the mixture to your face using gentle circular motions, avoiding the delicate eye area. This natural exfoliant will help remove dead skin cells and unclog pores, just like the treatments you’d get at an upscale spa.
Let the mask sit for 1-2 minutes, but don’t wait longer as baking soda can be drying.
Rinse your face thoroughly with lukewarm water and pat dry with a clean towel.
Follow up with your favorite moisturizer to lock in the benefits of your at-home spa treatment.
Honey and Baking Soda Combination
While the basic baking soda mask works wonders alone, combining it with honey takes your skincare routine to the next level.
When you mix these two powerhouse ingredients, you’ll create a mask that’s both naturally antibacterial and deeply moisturizing.
Mix one tablespoon of baking soda with two teaspoons of raw honey until you’ve formed a smooth paste. The honey’s natural humectant properties will help lock in moisture while the baking soda gently exfoliates.
Apply the mixture to your damp face using circular motions, and let it sit for 10 minutes. You’ll love how the honey helps the mask stick better to your skin while reducing any potential irritation.
After rinsing with lukewarm water, you’ll notice softer, more radiant skin that feels nourished and refreshed.
Lemon Baking Soda Brightening Mask
Another powerful combination for skin brightening comes from mixing baking soda with fresh lemon juice.
You’ll love how this simple mask helps fade dark spots and evens out your skin tone. Just combine one tablespoon of baking soda with enough fresh lemon juice to form a smooth paste.
Apply the mixture to your clean face using gentle circular motions, avoiding the delicate eye area. You’ll feel a slight tingling sensation – that’s the natural acids working their magic!
Leave it on for no more than 2-3 minutes if you’re new to this treatment. After rinsing with cool water, you’ll notice your skin looks more radiant and feels incredibly soft.
Don’t forget to moisturize afterward and always use sunscreen, as lemon can make your skin more sensitive to sunlight.
Tea Tree Oil Enhancement
Tea tree oil takes this baking soda treatment to the next level by adding powerful antibacterial properties. You’ll love how this natural combo fights acne while maintaining your skin’s delicate balance. Simply add 2-3 drops of tea tree oil to your baking soda paste for enhanced cleansing power.
| Benefits | Application Tips |
|---|---|
| Fights acne | Mix fresh each time |
| Reduces inflammation | Use gentle circles |
| Controls oil | Avoid eye area |
| Prevents scarring | Apply twice weekly |
Join thousands of others who’ve discovered this skincare secret. The antiseptic qualities of tea tree oil work in harmony with baking soda’s gentle exfoliation to reveal your clearest skin yet. You’ll notice fewer breakouts and a more even complexion within just a few treatments.
Application Techniques
Mastering three key steps guarantees ideal results when applying your baking soda skin treatment.
First, you’ll want to cleanse your face with your regular facial wash and pat it dry with a soft towel.
Next, mix one teaspoon of baking soda with enough water to create a smooth paste – you’re looking for a consistency similar to toothpaste. Don’t add too much water, as you want the paste to stick to your skin without dripping.
Apply the mixture to your face using gentle circular motions, just like the spa professionals do. Focus on problem areas but avoid the sensitive skin around your eyes.
Keep the solution on for no more than two minutes before rinsing thoroughly with lukewarm water. You’ll feel like you’ve just had a professional treatment!
Recommended Treatment Duration
While the application process may seem straightforward, knowing how long to continue your baking soda treatment schedule makes all the difference in achieving ideal results.
You’ll want to start with a twice-weekly treatment for the first month to see how your skin responds. Many in our skincare community find this frequency ideal for maintaining results without overwhelming their skin.
After the first month, you can adjust based on your skin’s needs. If you’re seeing positive changes, maintain the twice-weekly schedule. If you notice any redness or sensitivity, reduce to once weekly.
Don’t continue daily treatments for more than two weeks, as this can disrupt your skin’s natural pH balance. Remember to listen to your skin – it’ll tell you what works best.
Post-Treatment Care
After completing your baking soda treatment, proper aftercare becomes essential to maintain and enhance the benefits. You’ll want to protect your skin from potential irritation and lock in the results. Remember to moisturize immediately with a gentle, fragrance-free lotion and avoid harsh products for the next 24 hours.
| Time Frame | Do’s | Don’ts |
|---|---|---|
| First Hour | Apply moisturizer | Touch face frequently |
| 24 Hours | Use sunscreen | Apply makeup |
| 48 Hours | Resume normal routine | Use exfoliants |
| 72+ Hours | Start treatments again | Over-wash face |
Stay connected with your skin’s needs by monitoring any sensitivity. If you notice redness or irritation, give your skin extra time to recover before your next treatment. Join our community of baking soda enthusiasts to share your experience and get personalized advice.
Weekly Usage Guidelines
The frequency of baking soda treatments can make or break your skincare results. For most skin types, you’ll want to limit your baking soda applications to just 1-2 times per week. This gentle approach allows your skin to maintain its natural pH balance while still benefiting from the treatment’s exfoliating properties.
If you’re new to baking soda skincare, start with just once a week and monitor how your skin responds. You can gradually increase to twice weekly if your skin tolerates it well.
Those with sensitive skin should stick to once weekly or even every other week. Remember, you’re part of a growing community of natural skincare enthusiasts, but overdoing any treatment can lead to irritation.
Listen to your skin and adjust accordingly.
Potential Side Effects
Since baking soda can disrupt your skin’s natural pH balance, you might experience redness, dryness, or irritation when using it as a skincare treatment.
If you notice any of these symptoms, stop using the treatment immediately and let your skin recover.
Those with sensitive or acne-prone skin should be extra cautious, as baking soda’s abrasive nature can worsen existing skin conditions.
You’ll also want to watch for signs of increased sun sensitivity, which can occur when your skin’s protective barrier is compromised.
Some people report a temporary stinging sensation or mild breakouts during their first few uses.
Storage and Shelf Life
Proper storage of your baking soda skin solution will help prevent the side effects mentioned above while maximizing its effectiveness.
Keep your mixture in an airtight container away from direct sunlight and heat. You’ll want to store it in a cool, dry place like your bathroom cabinet or vanity drawer.
Don’t make large batches – it’s best to mix only what you’ll use within 2-3 days. While baking soda itself has an indefinite shelf life when stored properly, once mixed with other ingredients, it can lose potency or become contaminated.
If you notice any changes in color, texture, or smell, it’s time to make a fresh batch. Remember to always label your container with the date you made your solution to track its freshness.
Skin Patch Test Method
Before applying baking soda solution to your face or body, conducting a skin patch test helps prevent adverse reactions and identifies potential sensitivities.
To perform a patch test, mix a small amount of baking soda with water to create a thin paste.
Apply the mixture to a quarter-sized area on your inner forearm and let it sit for 10 minutes. If you don’t experience any redness, itching, or irritation, rinse the area thoroughly and wait 24 hours. During this time, watch for any delayed reactions like swelling or rash.
If your skin remains clear after 24 hours, you’re likely safe to use the solution on larger areas.
When to Avoid This Treatment
While patch testing helps identify immediate reactions, certain skin conditions and situations warrant avoiding baking soda treatments altogether.
You’ll want to skip this treatment if you’re dealing with sensitive skin, rosacea, or active acne breakouts. The alkaline nature of baking soda can disrupt your skin’s natural pH balance and worsen these conditions.
Don’t use baking soda if you’re currently using retinoids, alpha-hydroxy acids, or other exfoliating products, as this combination can lead to irritation and inflammation.
You should also avoid this treatment if you have open wounds, sunburned skin, or eczema flare-ups. If you’re pregnant or taking medications that make your skin more sensitive, check with your healthcare provider before trying any baking soda treatments.
Signs of Skin Improvement
Positive results from baking soda treatments often appear within the first few applications.
You’ll notice your skin feels smoother and softer to the touch, with a more even texture. Many users report that their complexion becomes noticeably brighter and more balanced within a week of regular use.
Watch for reduced appearance of blackheads and smaller-looking pores, especially around your nose and cheeks.
Your skin’s pH balance will improve, leading to less oiliness in problem areas while maintaining healthy moisture levels elsewhere.
You might also see a decrease in redness and inflammation, particularly if you’ve been dealing with minor acne or irritation.
As your skin adjusts to the treatment, you’ll likely experience fewer breakouts and a more consistent skin tone overall.
Alternative Natural Add-ins
To enhance your baking soda skin treatment, you can mix in several natural ingredients that boost its effectiveness.
Try adding raw honey for extra antibacterial properties and moisture retention, or mix in lemon juice to brighten your complexion and fight dark spots.
Many in our skincare community swear by adding coconut oil, which provides deep hydration while maintaining skin’s natural balance.
For those dealing with acne, tea tree oil makes an excellent addition to your baking soda paste.
If you’re looking to gently exfoliate, mix in ground oatmeal or coffee grounds. These natural ingredients work harmoniously with baking soda to create a more powerful treatment.
You can also add aloe vera gel to soothe irritation and reduce redness while promoting healing.
Frequently Asked Questions
Can I Use Baking Soda Face Mask Right After Getting a Facial?
You shouldn’t use baking soda on your face right after a facial. Your skin’s already sensitive from treatment, and baking soda’s harshness could cause irritation and damage your freshly pampered skin.
Does This Mask Work on Severe Cystic Acne Scars?
You shouldn’t rely on baking soda for severe cystic acne scars. It’s best to consult your dermatologist, who can recommend proven treatments like chemical peels, microdermabrasion, or laser therapy.
Can I Prepare Multiple Masks in Advance and Store Them?
You shouldn’t pre-mix your masks since baking soda reacts with moisture and loses effectiveness. It’s best to make a fresh mixture each time you’re ready to apply it.
Should I Continue Using My Regular Skincare Products While Doing These Masks?
You can continue your regular skincare routine while using masks. Just don’t apply them at the same time – wait 30 minutes between each product to let them work effectively.
Can I Substitute Baking Powder if I Run Out of Baking Soda?
You shouldn’t substitute baking powder for baking soda on your skin. They’re different products with distinct chemical properties, and baking powder contains additional ingredients that could irritate your skin.
